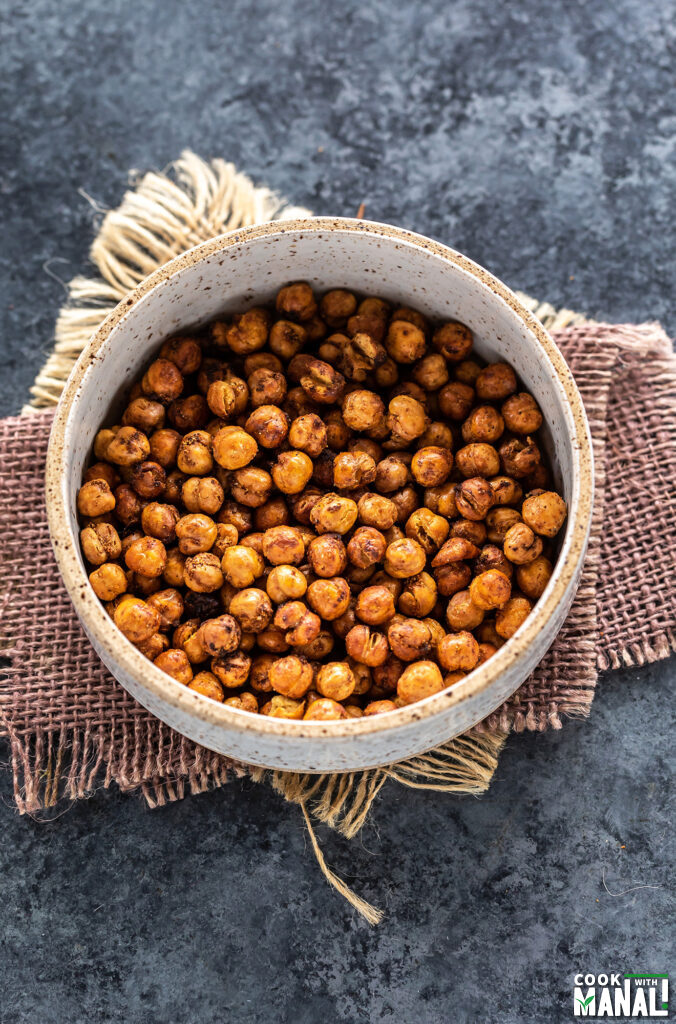
These air fryer chickpeas are super crispy and make the perfect snack! You can season them anyway you like and enjoy them as a snack or on add as a topping to your soups, salads.
I have been so obsessed with my air fryer and the reason is that there are so many things I feel it does way better than a traditional oven. For example fries, they are so much better in air fryer than in an oven. And these chickpeas are next to join that list.
I have made roasted chickpeas in the past in my oven but they have never turned out as crisp as I wanted them to. And while some would turn our crisp, others would still be soft. But not anymore! With the air fryer, you actually get super crispy chickpeas and all of them crispy up evenly!
This has become my favorite snack these days and I make a batch almost every week. There’s no prep work involved except the part where you have to let these air dry for a bit. You can do that while you are doing other stuff like making dinner or doing laundry and these can just air dry on the side.
Why We Love This Recipe
- makes a healthier snack!
- is vegan and gluten-free.
- easy to make and cost effective.
- turns out super crispy every time!
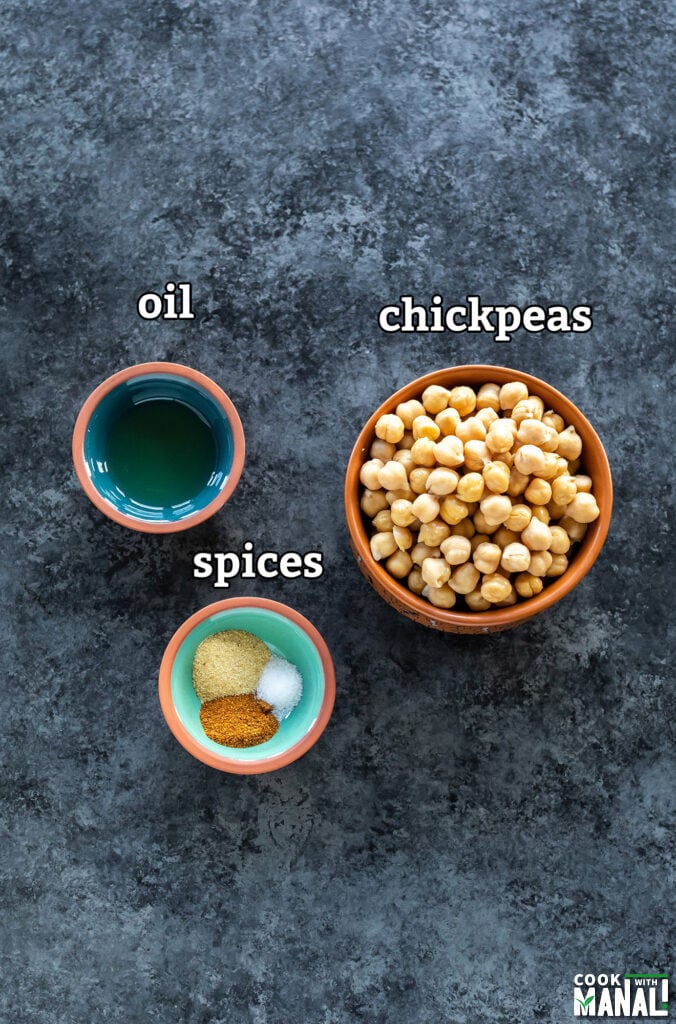
Ingredients
Chickpeas: I start with a can of chickpeas which I rinse and drain. You can also use dry chickpeas, in that case you should soak them overnight and then cook them in your Instant Pot. Be sure to not over-cook them. You would need around 1 & 1/2 to 1 & 3/4 cup of cooked chickpeas in that case.
Oil: you can use any oil of choice, I have used avocado oil.
Seasonings: I have seasoned these with paprika and garlic powder, but you can season them in several ways (read more on this below).
Step by Step Instructions
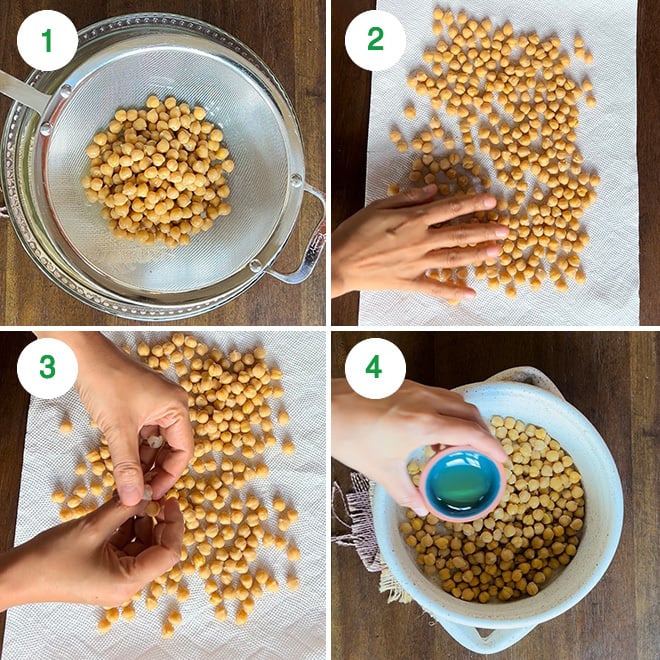
1- Open a 15 oz can of chickpeas and then drain it completely.
2- Transfer it to a paper towel. I like placing another paper towel on top and let this dry completely. I usually leave this for around 30 to 40 minutes to dry completely and also replace the paper towels once or twice in between so that there isn’t any moisture left before air frying. This step is important.
3- Now, remove the outer skin of the chickpeas. I recommend doing this additional step for crispy chickpeas.
4- Transfer the dried chickpeas to a large bowl and add 1/2 tablespoon oil. I have used avocado oil but you can use any oil of choice.
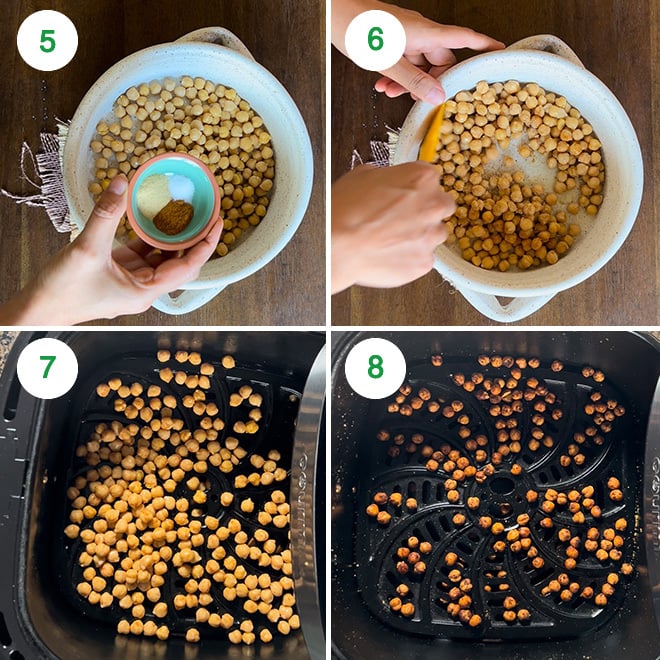
5- Now add the seasonings:
- 1/2 teaspoon paprika
- 1/2 teaspoon garlic powder
- 1/4 teaspoon salt (or to taste)
You can basically add any seasoning of choice at this point.
6- Using a spatula, mix until the chickpeas are well coated with the oil and spices.
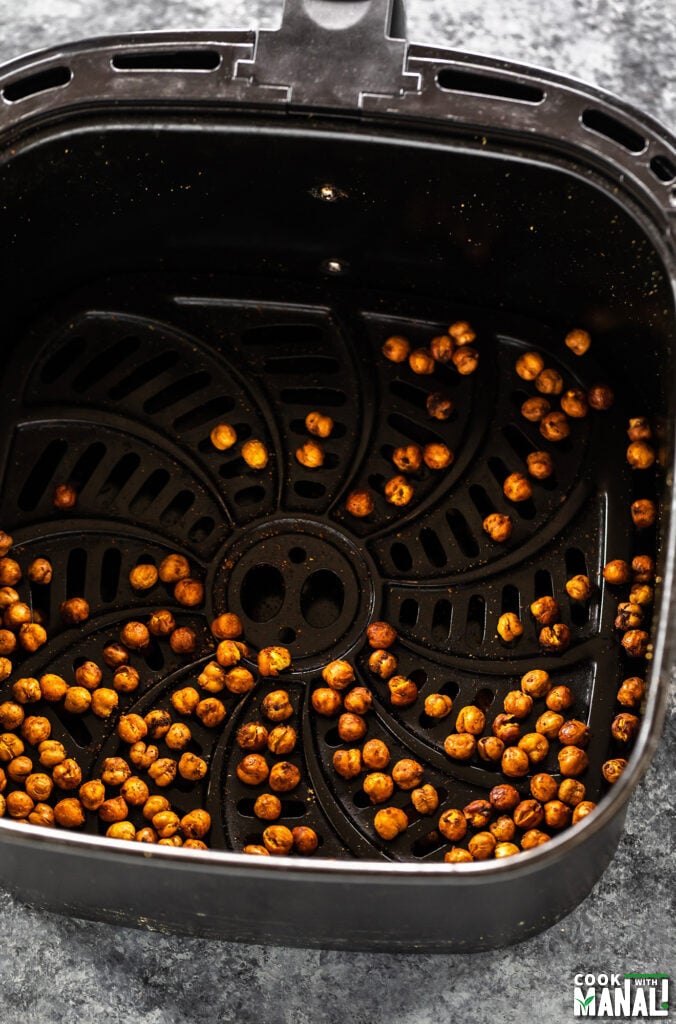
7- Pre-heat your air fryer according the manufacturers instructions. Mine has a pre-heat button so I just press that, it usually takes 2 minutes. Transfer the chickpeas to the air fryer in a single layer.
8- Air fry at 390 F degrees for 13 to 15 minutes, shaking couple of times in between until they are super crispy. Sometimes, I like sprinkling some chaat masala at the end (this is just for that Indian touch and is optional). Store at room temperature for a week to 10 days.
Tips to Make Crispy Chickpeas In Air Fryer
Here are few important things that will ensure that your chickpeas turn out crispy in the air fryer.
- Drain and then dry the chickpeas completely: If the chickpeas aren’t dry, they won’t turn that crispy. I suggest leaving them on paper towel for 30 to 40 minutes to make sure that they are completely dry before air frying. You can also put another paper towel on top to dry them completely. If you have time, you can just let them air dry for 1 hour, longer the better.
- Remove the outer skin of the chickpeas: this step is optional but recommended. Removing the outer skin from the chickpeas helps in making them extra crispy.
- Shake few times in between: to make sure all chickpeas the getting evenly crisp in the air fryer, shake the air fryer basket couple of times through the air frying process.
More Seasoning Suggestions
You can flavor these chickpeas in several ways! Some options are:
- Curry powder
- Cumin powder, coriander powder
- Za’atar
- Harissa
- Cajun seasoning
Re-heating
If these lose their crispiness you can always pop these back into the air fryer and re-heat. Mine has a re-heat button which is for 15 mins at 300 F but you probably won’t need that long.
Honestly though I usually finish these in like couple of days and they stay super crispy and crunchy. I have never had the need to re-crisp them.
How to Enjoy Them?
Well, I mostly enjoy them as a snack with my chai. But I also love adding them to my salads, they add the perfect crunch to salads. You can also use them a topping for your soups like in this pumpkin soup or tacos or even rice.
If you’ve tried this Recipe then don’t forget to rate the recipe! You can also follow me on Facebook, Instagram to see what’s latest in my kitchen and on YouTube to watch my latest videos.

Air Fryer Chickpeas
Ingredients
- 15 oz can chickpeas, drained, rinsed and dried completely
- 1/2 tablespoon oil, I use avocado oil
- 1/2 teaspoon paprika
- 1/2 teaspoon garlic powder
- 1/4 teaspoon salt, or to taste
Instructions
- Open a can of chickpeas and then drain it completely. Transfer it to a paper towel. I like placing another paper towel on top and let this dry completely. I usually leave this for around 30 to 40 minutes to dry completely and also replace the paper towels once or twice in between so that there isn't any moisture left before air frying. This step is important.
- Now, remove the outer skin of the chickpeas. I recommend doing this additional step for crispy chickpeas.
- Transfer the dried chickpeas to a large bowl and add 1/2 tablespoon oil. I have used avocado oil but you can use any oil of choice.
- Now add the seasonings. You can basically add any seasoning of choice at this point. I added paprika, garlic powder and salt.Using a spatula, mix until the chickpeas are well coated with the oil and spices.
- Pre-heat your air fryer according the manufacturers instructions. Mine has a pre-heat button so I just press that, it usually takes 2 minutes. Transfer the chickpeas to the air fryer in a single layer.
- Air fry at 390 F degrees for 13 to 15 minutes, shaking couple of times in between until they are super crispy. Store at room temperature for a week to 10 days.
Notes
- Drain and then dry the chickpeas completely: If the chickpeas aren’t dry they won’t turn that crispy. I suggest leaving them on paper towel for 30 to 40 minutes to make sure that they are completely dry before air frying. You can also put another paper towel on top to dry them completely. If you have time, you can just let them air dry for 1 hour, longer the better.
- Remove the outer skin of the chickpeas: this step is optional but recommended. Removing the outer skin from the chickpeas helps in making them extra crispy.
- Shake few times in between: to make sure all chickpeas the getting evenly crisp in the air fryer, shake the air fryer basket couple of times through the air frying process.
- The total time includes the resting time of air drying the chickpeas.
- The nutritional estimate is for 1/2 cup of chickpeas.
- You can season them in several ways. I like sprinkling some chaat masala at the end – this is just for that Indian touch and is optional.
Nutrition
Nutrition information is automatically calculated, so should only be used as an approximation.


This looks yummy and you have well described it. Thanks for the recipe.