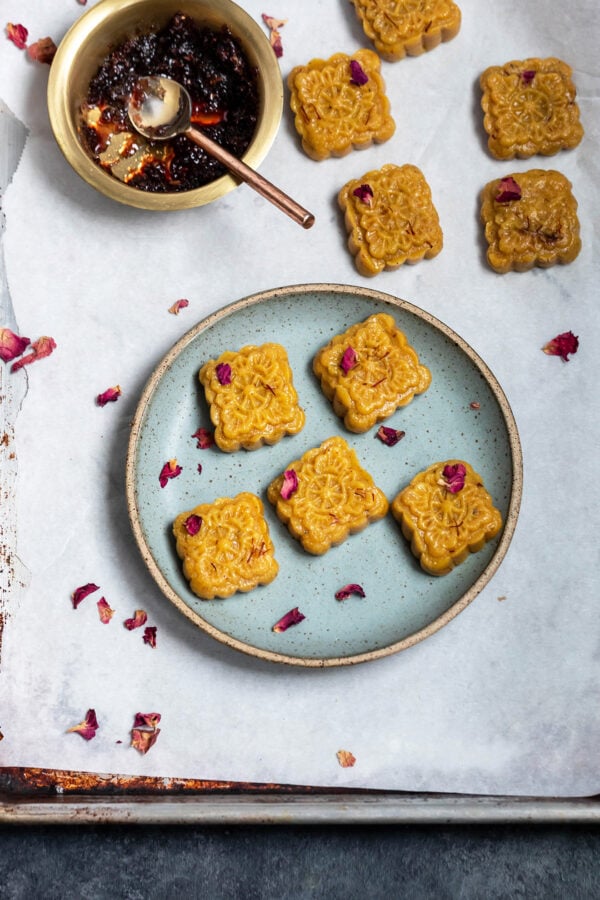
Baked Gur Para
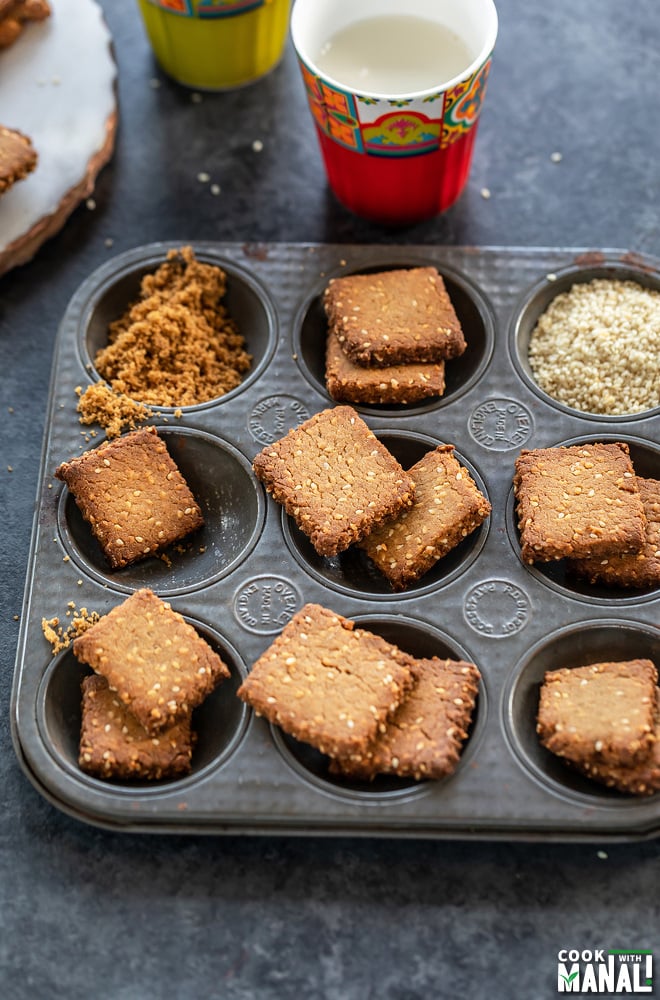
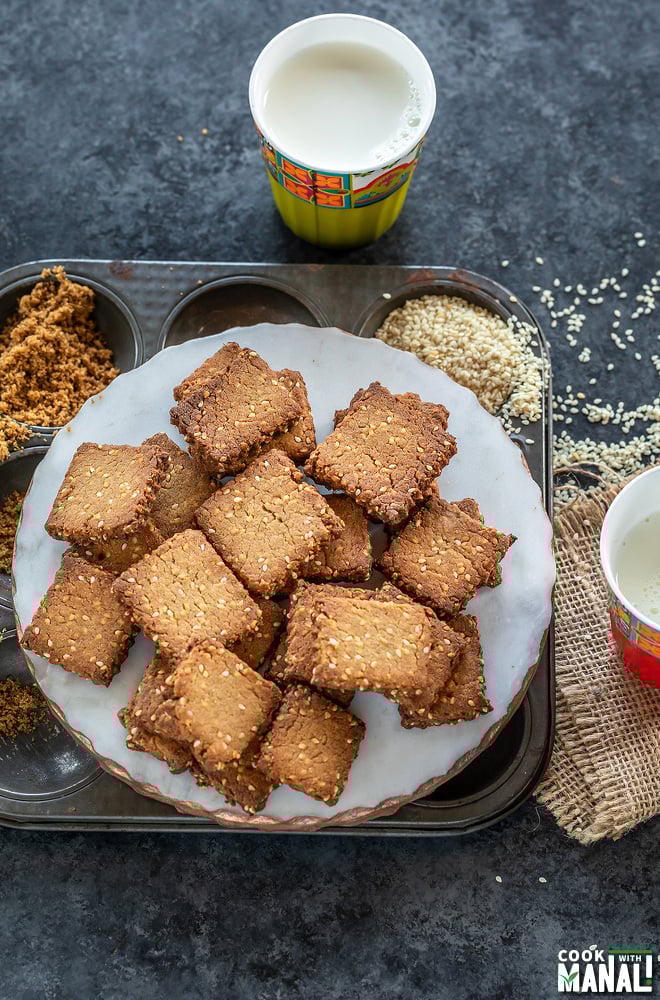
Baked Gur Para, a traditional Indian sweet snack made with flour and jaggery. It's traditionally deep fried but this baked version is just as flaky and crispy!
This post may contain affiliate links. Please read our disclosure policy.
This is the baked version of Gur Para- a traditionally fried Punjabi sweet snack made with flour and jaggery.
The dough is flavored with sesame seeds, ghee and a little bit of fennel powder.
The sooji (semolina) makes these gud para very flaky and crispy.
Disclosure: This post contains affiliate links. For more information on my Affiliate and Advertising Policy, please click here.
I think I am on a mission to share with you guys the baked version of all the fried snacks I grew up eating.
Especially when there’s an upcoming festival (like Holi is in few days), I get the urge to share such recipes which you can make easily at home and enjoy with your entire family.
Baked Methi Mathri, Baked Besan Papdi and now Baked Gur Para! You can be rest assured there’s more to come.
Gur Para or Gur Pare was one of my favorite snacks growing up. I used to scan through the wedding mithai dabbas (boxes) to look for them.
They were so good with chai especially during cold winters in Delhi.
I haven’t had them in so long but since Holi is around the corner, I wanted to make them at home and thought of trying a baked version in stead of deep frying them.
To my surprise, they turned out so well. The baked gur para is flaky, crispy and so easy to make!
Baked Gur Para
✔ free of refined-sugar
✔ tasty treat for your sweet cravings
✔ made with whole wheat flour
✔ pairs well with chai, coffee or milk
✔ packed with flavors of ghee and fennel
To make the dough is really simply. First, sift the dry ingredients which includes atta, sooji, sesame seeds, baking powder and salt.
Then whisk the ghee with jaggery powder and add in the dry ingredients. Add in warm water to bring the dough together.
Easy right? And so addictive!
I used a little fennel powder here for flavor. If you are not a fan, feel free to leave it out. You can in fact use other spices like cardamom and cinnamon too.
For this recipe, I ground some fennel seeds and used the powder in the dough, gave it a really nice aroma and flavor.
Can you replace ghee with butter? Yes that should work. Use unsalted butter in that case. However, I haven’t tested this recipe with oil so do not replace the ghee with oil.
Because oil is liquid that will change the proportion of wet and dry ingredients. Plus ghee gives these gur pare so much flavor.
Trust me, just use ghee!
How long to bake these? 15 minutes at 375 F degrees is good enough. They were really crispy at this point.
However if you want then extra crispy, you can bake an additional 1-2 minutes.
The dough for the gur para is really soft and loose in the recipe. So, after I made the dough, I wrapped and it and let it chill in the refrigerator for around 10 minutes and then rolled to 1/4 inch thickness.
You can use a square or round cookie cutter to cut these gur para or use a pastry wheel like I did to cut the dough.
Method
Pre-heat oven to 375 F degrees. Line a large baking sheet with parchment paper and set aside.
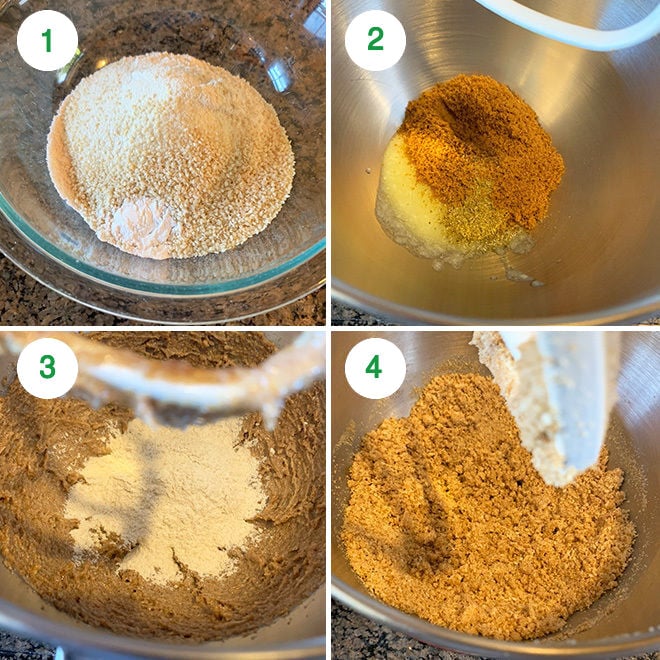
1- In a bowl mix together atta (whole wheat flour), sooji (semolina), white sesame seeds, baking powder and pinch of salt. Set aside.
2- To the steel bowl of your stand mixer fitted with paddle attachment or use your hand mixer, beat together ghee with jaggery powder until creamy.
3- Start adding the dry ingredients into the ghee-jaggery mixture.
4- Add slowly until it is all incorporated. Mixture will resemble crumbs.
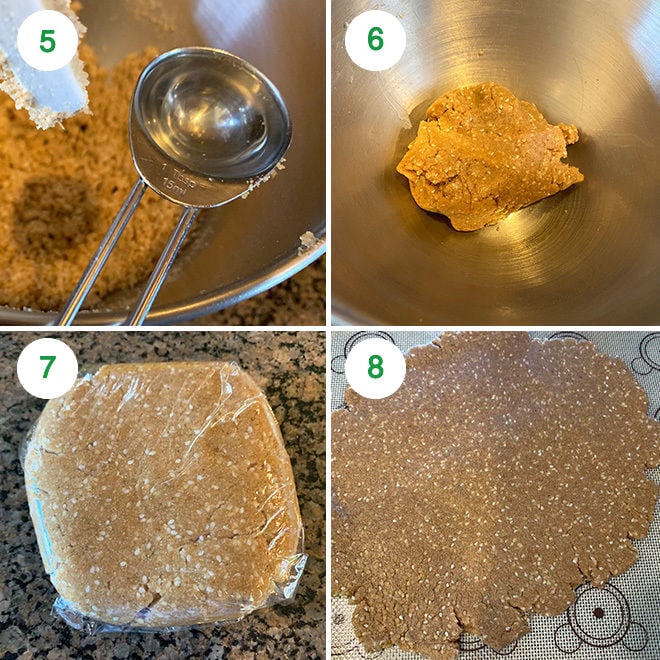
5- Now add warm water to bring the dough together. Start with 1 tablespoon of water and add more as needed to bring it all together.
6- You will have a soft and smooth dough ready.
7- Wrap the dough with a cling sheet and refrigerate for 10 to 15 minutes.
8- Then take out the dough and roll it using a rolling pin to 1/4 inch thickness.
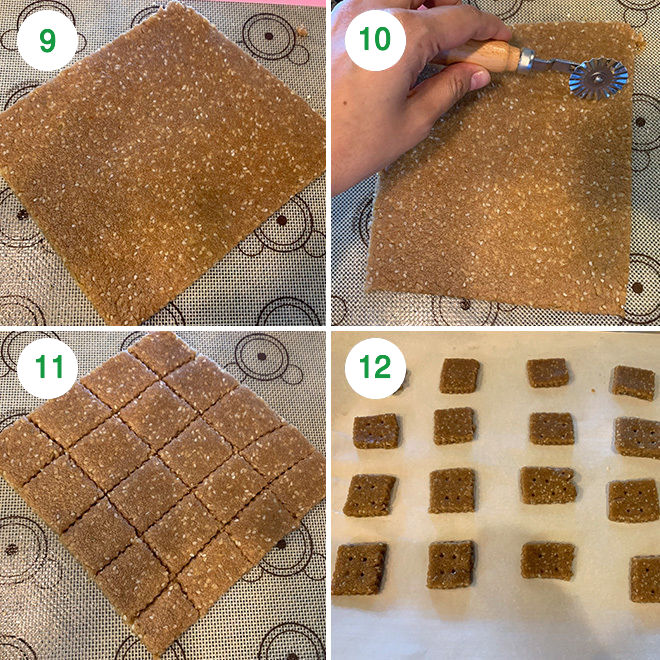
9- You can trim the sides to make it a square.
10- Then use a pastry wheel to cut the dough. You may also use a cookie cutter here.
11- I cut squares around 1.5 x 1.5 inch using the pastry wheel.
12- Transfer the cut squares to the baking sheet lined with parchment paper. Bake at 375 F degrees for 15 to 16 minutes until crisp. If you want them extra-crispy, you may bake for an additional 1 minute or so.
Transfer the baked gur para to a wire rack to cool completely. Store in an airtight container and enjoy with chai or coffee.
If you’ve tried this Baked Gur Para Recipe then don’t forget to rate the recipe! You can also follow me on Facebook, Instagram to see what’s latest in my kitchen!
Baked Gur Para

Ingredients
- 1 cup atta durum wheat flour, 130 grams
- 2 tablespoons sooji semolina, 30 grams
- 1.5 tablespoons white sesame seeds 22 grams
- 1/4 teaspoon baking powder
- pinch salt
- 1/3 cup ghee 75 grams, in semi-solid form (not melted)
- 1/2 cup jaggery powder 65 grams, measured after sifting the powder
- 3/4 teaspoon fennel powder you may reduce the amount if you do not like the fennel flavor
- 2-2.5 tablespoons warm water as needed, 30-37 ml
Instructions
- Pre-heat oven to 375 F degrees. Line a large baking sheet with parchment paper and set aside.
- In a bowl mix together atta (whole wheat flour), sooji (semolina), white sesame seeds, baking powder and pinch of salt. Set aside.
- To the steel bowl of your stand mixer fitted with paddle attachment or use your hand mixer, beat together ghee with jaggery powder until creamy.
- Start adding the dry ingredients into the ghee-jaggery mixture. Add slowly until it is all incorporated. Mixture will resemble crumbs.
- Now add warm water to bring the dough together. Start with 1 tablespoon of water and add more as needed to bring it all together. You will have a soft and smooth dough ready.
- Wrap the dough with a cling sheet and refrigerate for 10 to 15 minutes.
- Then take out the dough and roll it using a rolling pin to 1/4 inch thickness. You can trim the sides to make it a square.
- Then use a pastry wheel to cut the dough. You may also use a cookie cutter here. I cut squares around 1.5 x 1.5 inch using the pastry wheel.
- Transfer the cut squares to the baking sheet lined with parchment paper. Bake at 375 F degrees for 15 to 16 minutes until crisp. If you want them extra-crispy, you may bake for an additional 1 minute or so.
- Transfer the baked gur para to a wire rack to cool completely. Store in an airtight container and enjoy with chai or coffee.
Notes
- I have used freshly ground fennel powder here. I just ground some fennel seeds in my spice grinder and added to the dough. You can skip fennel if you are not a fan or use cardamom in place.
Nutrition
Nutrition information is automatically calculated, so should only be used as an approximation.