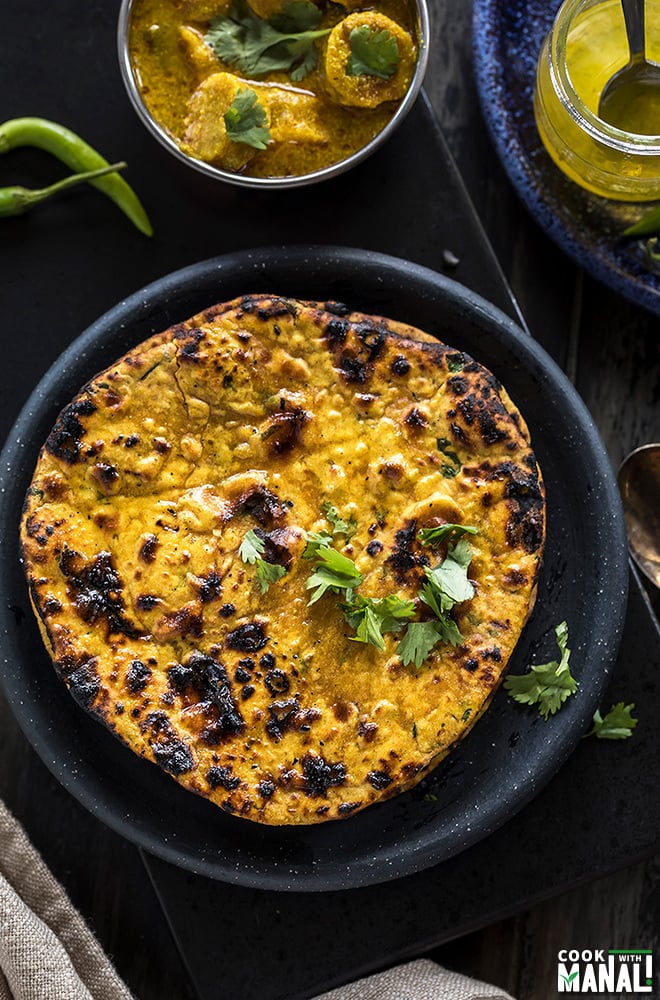
Make restaurant style Missi Roti (Indian flatbread made with whole wheat & chickpea flour) at home with this easy step by step recipe.
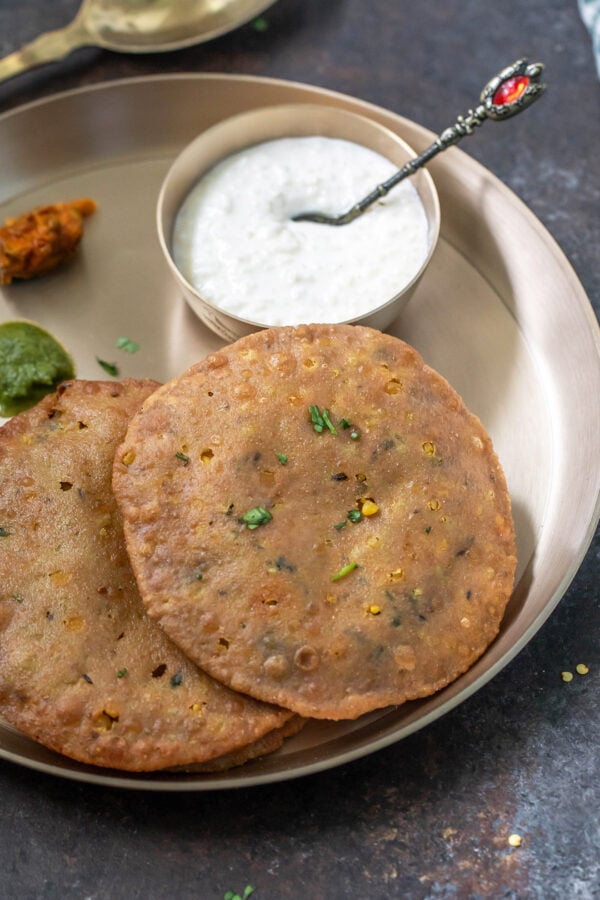
This roti tastes so good with just about any curry or even with a side of plain yogurt.

Indian breads are so diverse. There are way too many but the irony is that in the western world, most people are only aware of the naan! Well naan is delicious I agree but so is our paratha, kulcha and this missi roti!
What is Missi Roti?
Miss roti is a flatbread (popular in North India) made with besan aka chickpea flour and whole wheat flour. The proportion of besan and whole wheat flour will vary from person to person. Some people add equal amount, I like to use a 2:1 ratio of whole wheat and besan in my missi roti.
The roti is usually flavored with some spices. Veggies like onion, spinach, methi (fenugreek) etc. are also commonly added to it.
I do add veggies to mine but this missi roti recipe, I kept it relatively simple and added only dried spices to the dough.
How to Make Miss Roti
To make missi roti, you knead the dough like you would do for any roti or paratha. However I cook the missi rotis a little differently that I cook my usual rotis and parathas.
You may of course cook the missi roti exactly like you would cook any normal roti but if you want to make restaurant style missi roti, then follow the directions in this recipe!
At most restaurants, missi roti is made in a tandoor (clay oven). And that’s what gives the rotis that earthy smokey kind of flavor. Well since I don’t have a tandoor at home, I did the next best thing.
For this recipe, I cooked this roti on an inverted tawa (skillet), roasting it directly on heat. That gave the missi roti a distinct flavor, making it so much similar to the one that we get at restaurants.
You can of course roast it normally like you would roast any other roti – first on tawa and then on direct heat without doing the whole ulta tawa (inverted skillet) thing but trust me it does make a different to taste and texture of the missi roti if you do that.
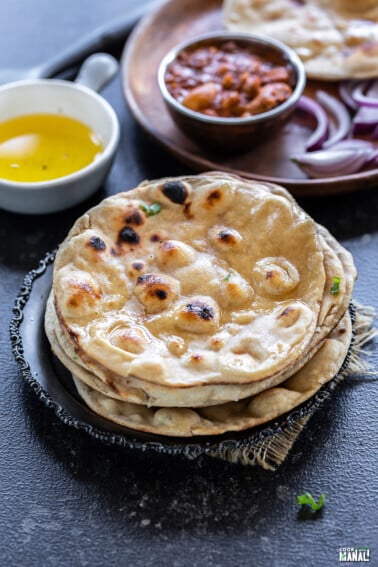
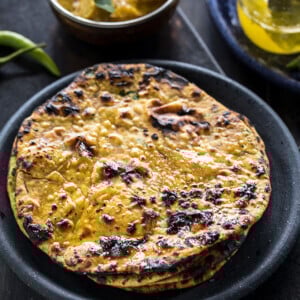
I mean look at the rotis, doesn’t the texture look perfect?
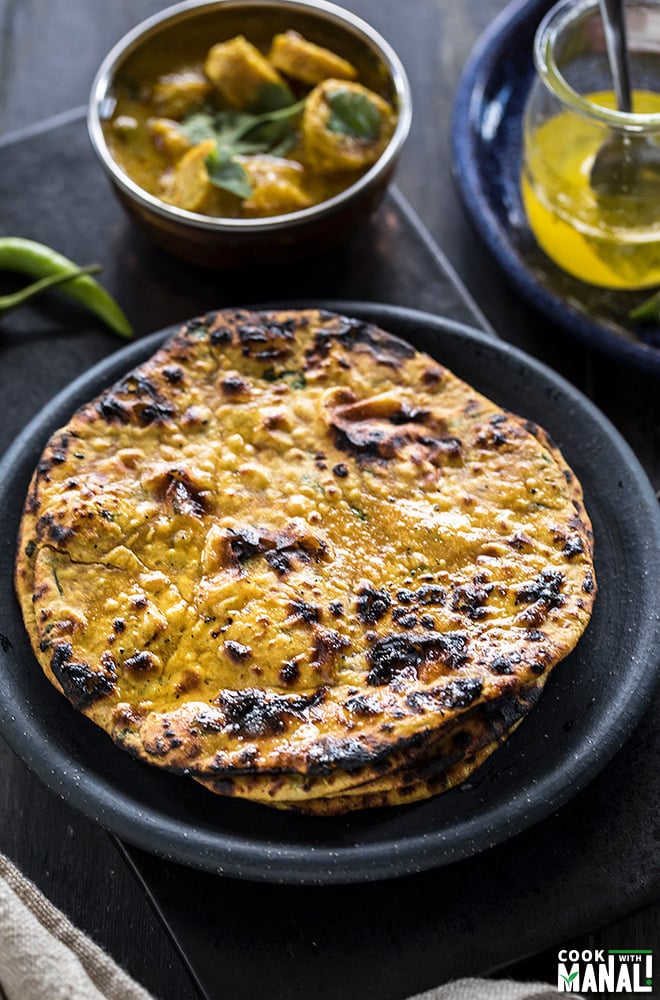
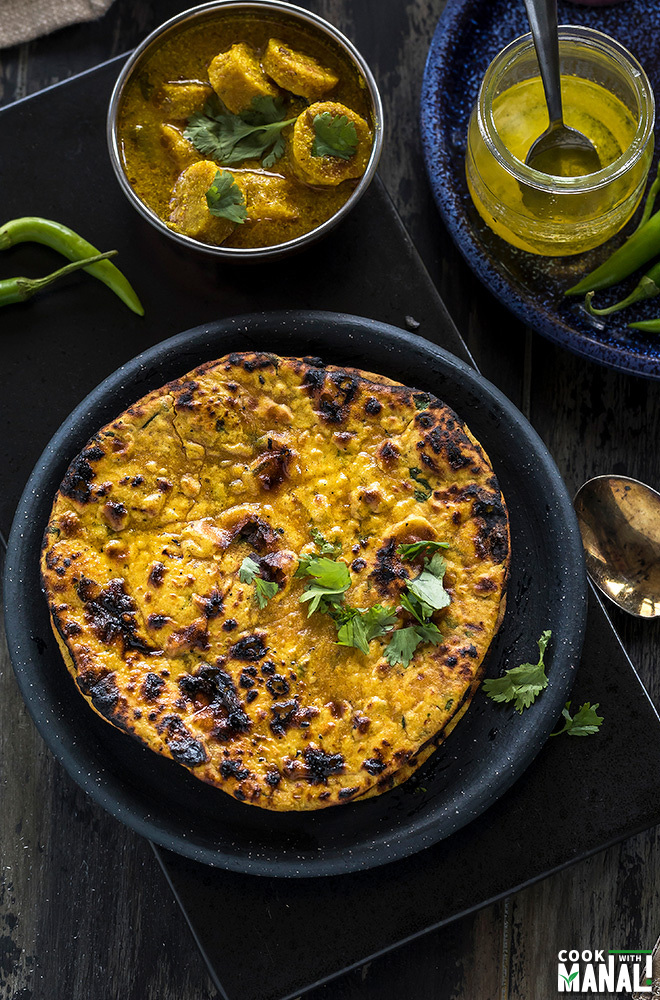
One of the most important things to do once you have made the roti is to brush it with a generous amount of ghee. It imparts so much flavor to the rotis.
You can of course skip if you want to avoid ghee but I highly recommend not doing so.
Missi Roti pairs well with so many things. More often that not, I eat it with just a side of yogurt and a cuppa chai. Sarvesh like it with some butter on top. You can also serve it with pickle or any dal or curry of your choice.
I don’t know why I don’t make missi roti very often in my kitchen, I totally should because I love it. If you guys are in the mood to try a different Indian bread, then please do give this Missi Roti a try. You are definitely going to love it!
Method
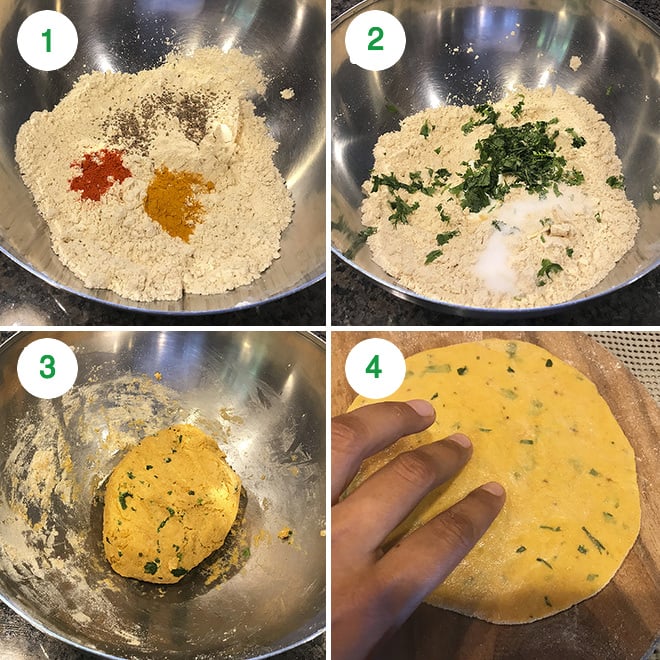
1- To a large bowl add atta (whole wheat flour) and besan (chickpea flour). Mix until combine and then add turmeric powder, red chili powder, ajwain (carom seeds) and salt. Mix to combine.
2- Add yogurt and chopped cilantro and mix.
3- Start adding water, little by little and knead to form a smooth dough. I used a little less than 1 cup (8 oz) water here. Apply some oil on top of the dough, cover and let it rest for 15 minutes.
4- Once the dough has rested, make dough balls out of it. I made 8 balls out of this dough. Meanwhile heat a tawa/skillet on medium-high heat. Roll one of the dough balls into a circle of 5-6 inch.
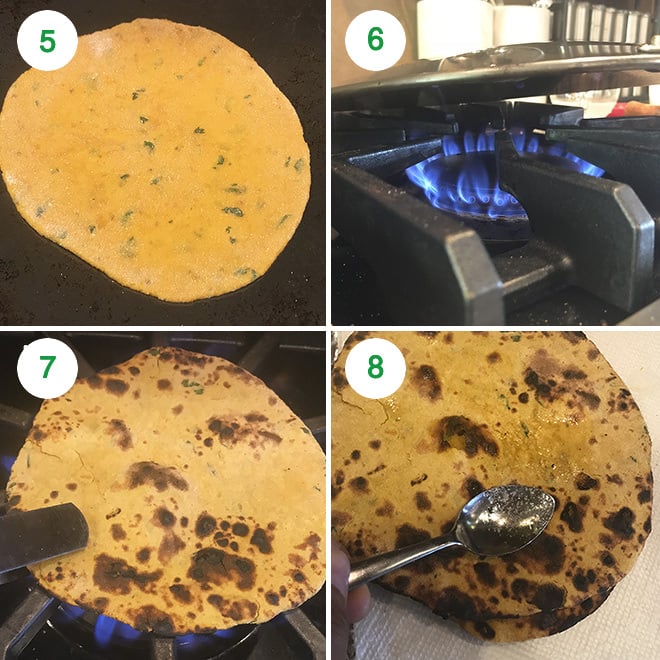
Dab some water on one side of the rolled roti with your fingers.
5- Now place the roti on the hot tawa with the water side facing down. Since you applied water to one side of the roti, that side will stick to the pan and roti will not fall off when you invert the tawa. Let the roti cook for a minute until you see some bubbles on top.
6- Once you see some bubbles on top, invert the tawa directly over gas flame. Let this side now get cooked directly on gas. Cook until it gets nice brown spots. Keep heat on medium else it might burn without getting cooked.
7- Then using a pair of tongs, remove the roti from the tawa and cook the other side directly on gas. Roast both sides directly on gas until cooked.
8- Make all other rotis in the same way. Brush these missi roti with ghee and serve immediately.
Missi Roti tastes best when served fresh, brushed with a generous amount of ghee!
If you’ve tried this Missi Roti Recipe then don’t forget to rate the recipe! You can also follow me on Facebook and Instagram to see what’s latest in my kitchen!
Missi Roti
Ingredients
- 1.5 cups atta/whole wheat flour
- 3/4 cup besan, also known as chickpea flour
- 1/2 teaspoon turmeric powder
- 1/2 teaspoon red chili powder
- 1/2 teaspoon ajwain, also known as carom seeds
- 1/2 teaspoon salt
- 1 tablespoon yogurt, plain
- 2 tablespoons chopped cilantro
- water, to knead, little less than 1 cup
- ghee, to brush the rotis
Instructions
- To a large bowl add atta (whole wheat flour) and besan (chickpea flour). Mix until combine and then add turmeric powder, red chili powder, ajwain (carom seeds) and salt. Mix to combine.
- Add yogurt and chopped cilantro and mix.
- Start adding water, little by little and knead to form a smooth dough. I used a little less than 1 cup (8 oz) water here. Apply some oil on top of the dough, cover and let it rest for 15 minutes.
- 4Once the dough has rested, make dough balls out of it. I made 8 balls out of this dough. Meanwhile heat a tawa/skillet on medium-high heat. Roll one of the dough balls into a circle of 5-6 inch.
- Dab some water on one side of the rolled roti with your fingers.
- Now place the roti on the hot tawa with the water side facing down. Since you applied water to one side of the roti, that side will stick to the pan and roti will not fall off when you invert the tawa. Let the roti cook for a minute until you see some bubbles on top.
- Once you see some bubbles on top, invert the tawa directly over gas flame. Let this side now get cooked directly on gas. Cook until it gets nice brown spots. Keep heat on medium else it might burn without getting cooked.
- Then using a pair of tongs, remove the roti from the tawa and cook the other side directly on gas. Roast both sides directly on gas until cooked. I like them a little charred.
- Make all other rotis in the same way. Brush these missi roti with ghee and serve immediately.
Nutrition
Nutrition information is automatically calculated, so should only be used as an approximation.