
Punjabi Chole Masala is one of the most popular vegetarian curry dishes in India. It is a chickpea curry cooked with onions, tomatoes and lots of spices. Chole is one of those core curries in northern India without which no party or wedding festivities is complete. I remember whenever we would call someone over for lunch or dinner, mom would almost always make chole (or rajma or dal makhani).
Chole is often enjoyed with bhatura (a deep fried bread). Chole bhature and chole chawal aka chole with rice is a very popular food combination and you would often find roadside carts selling plates of chole chawal in Delhi and around.
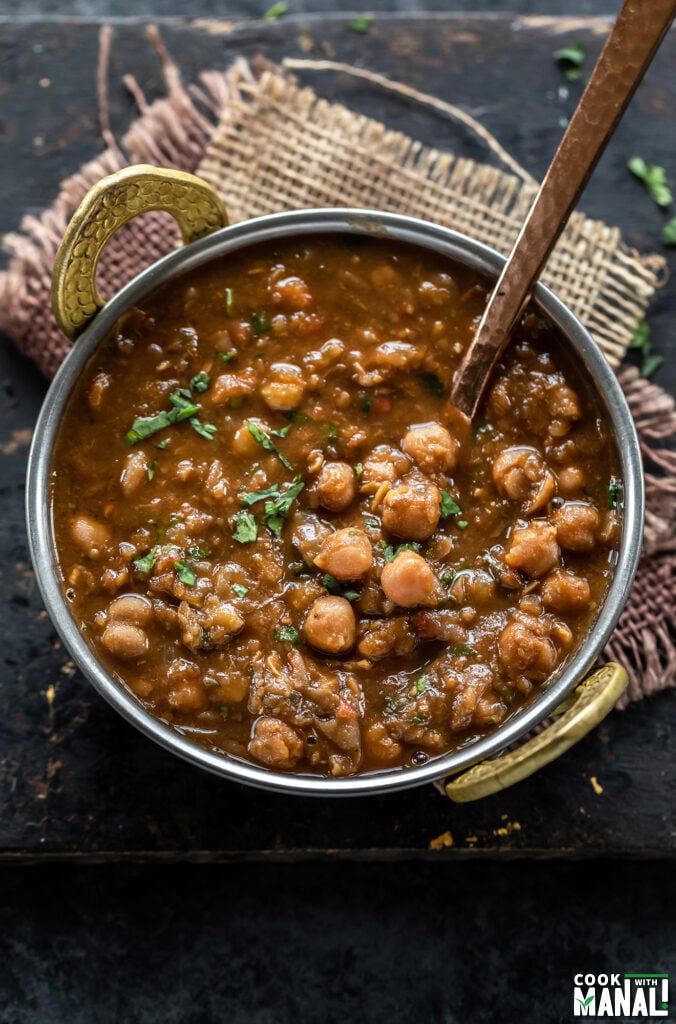

Punjabi Chole My Way!
No two houses in India will probably have the same recipe for chole. I know they were made differently in my house compared to how they were made in my husband’s house. Some people skip the onions while others skip the tomatoes, it’s totally a personal preference.
My husband loves chole, that’s kind of expected since he is a Punjabi. So, after I got married, I really tried to master making Punjabi Chole and after lots of trials, errors and hours of recipe testing, I think I found the perfect recipe. Now, my husband feels that I make the best chole, maybe he’s just biased but at least that makes me confident about this recipe. I can guarantee that if you love a good Punjabi style Chole Masala, you are going to love this recipe!
Here are my top tips which will help you in making a great Punjabi style chole masala:
- Don’t rush any of the steps, the steps of cooking the onions and tomatoes are all important and need some patience. The same applies to simmering the chole, they need to simmer for 30 minutes for the best flavor, which might seem a lot, but it helps to bring the flavor together. I have made chole when I rushed through the steps and the result was never as good.
- Mash some of the chickpeas as the chole simmers, using the back of your spatula, mash some of the chickpeas while the chole are simmering. This thickens the chole and adds to the flavor and texture of the curry.
Hope you enjoy one of my family’s favorite recipe!

Ingredients
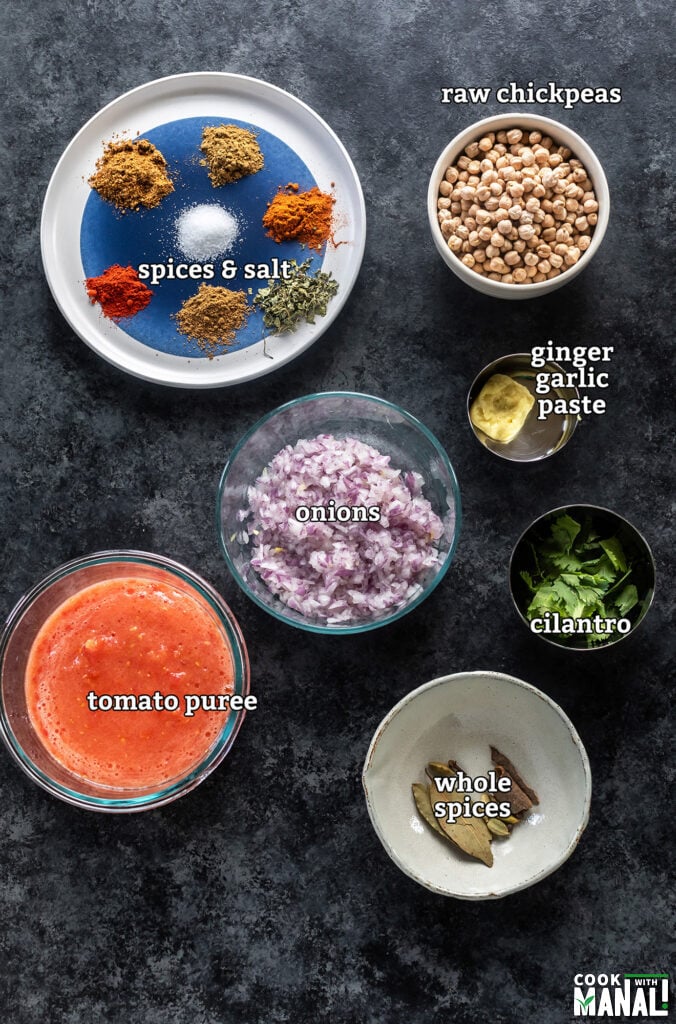
Raw Chickpeas: to make authentic Punjabi chole, you need to start with raw chickpeas. Sure, you can make the recipe with canned chickpeas but it won’t have the same texture. I highly recommend using raw chickpeas and then soaking them overnight before using in the recipe.
Black tea bags: you might notice an unusual ingredient in the form of black tea bags in this recipe. The tea bags are used only to give chole a dark color, they add nothing to the taste. You can skip them if you don’t care about the color of the chole. You can even use dried amla (gooseberry) to get this dark color.
Chole/Chana masala: it’s a special blend of spices used in making chole. You can easily find it at any Indian grocery store but in case you cannot, I have a homemade chole masala recipe for you that you can make in a pinch.
Homemade chole masala powder
- 2 tablespoons coriander seeds
- 1 tablespoon cumin seeds
- 1 tablespoon dried pomegranate seeds
- 1 teaspoon black peppercorn
- 2 black cardamoms
- 8 cloves
- 3-4 dried red chilies
- 2-inch cinnamon stick
- 1 teaspoon ginger powder
Dry roast all the whole spices (except ginger powder) in a pan on medium heat until the spices are fragrant and become light golden in color, around 5 minutes. Remove from the pan and let the spices cool down. Then transfer the toasted spices to a spice grinder and add the ground ginger. Grind until the spices are powdered and well combined. Store this masala in an airtight container and use as needed.
How to Make Chole – Step by Step Instructions
- First, cook the chickpeas
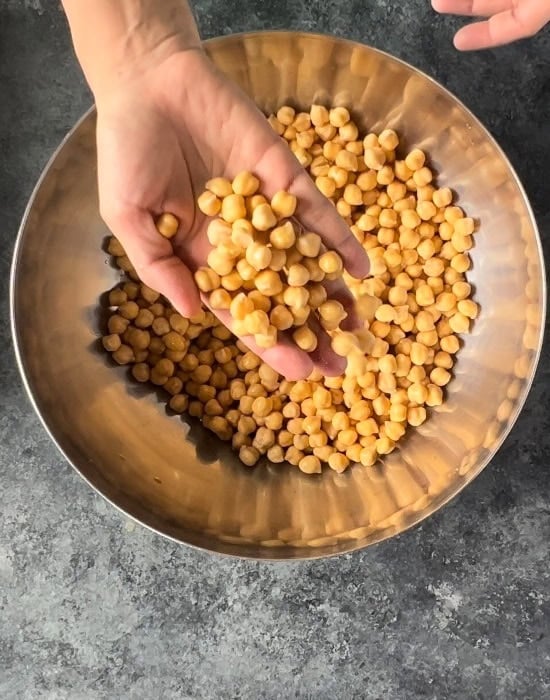
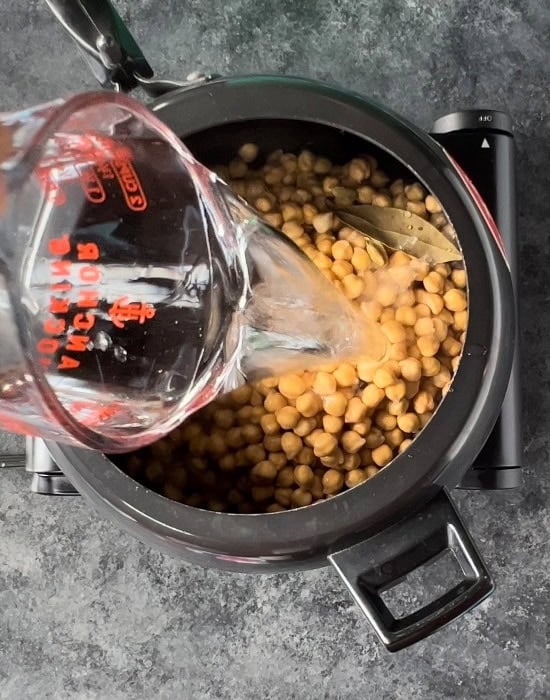
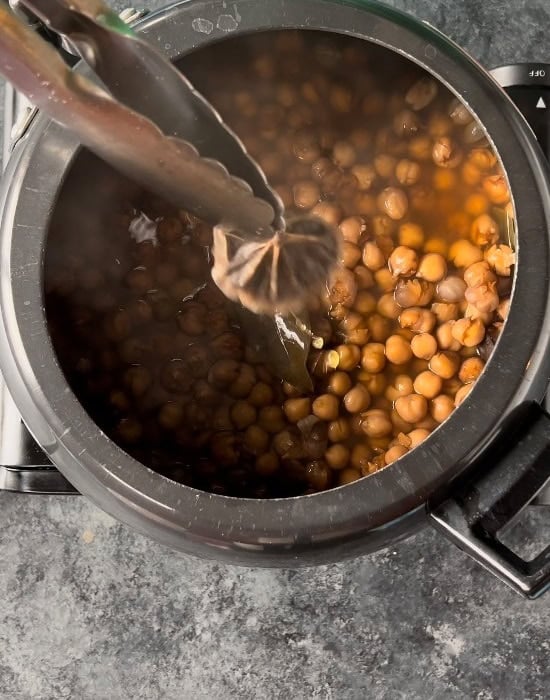
We start with dried chickpeas because believe me they make the best chole. Overnight soaked chickpeas are cooked with some whole spice, water, salt, and black tea bags (for that deep chole color).
- Cook the onions well
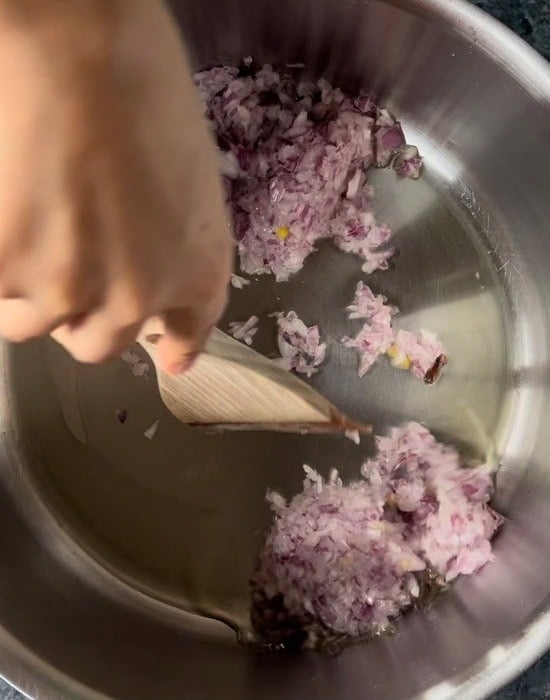
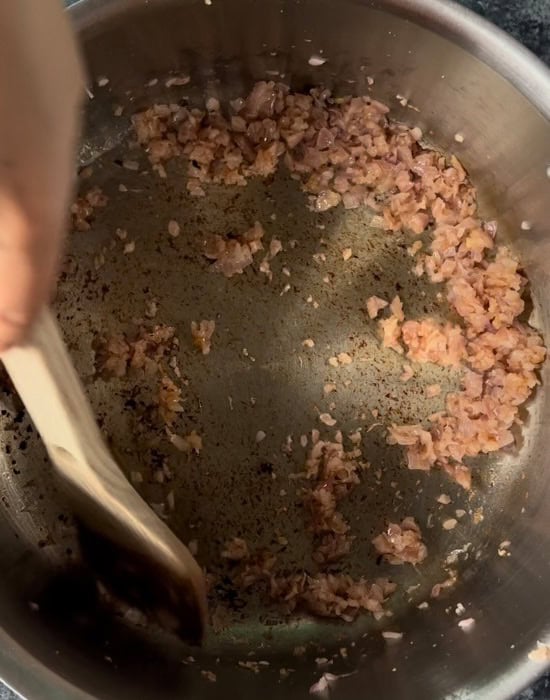
It’s important to not rush the step and cook the onions until they are nicely golden brown and caramelized but be careful to not burn them.
- Fresh ginger, garlic, and tomatoes go in next!
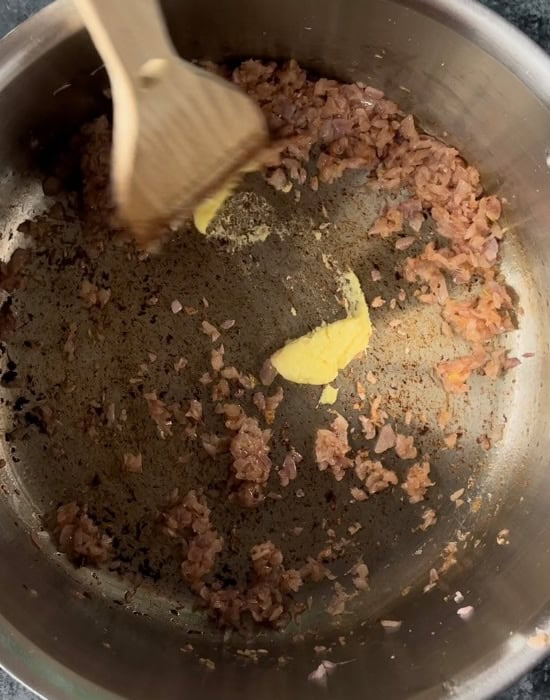
I like using fresh ginger and garlic paste for this recipe, as it impacts the final flavor of the dish. I have tested this recipe with store-bought ginger garlic paste and the results are not the same. The fresh tomato puree should be cooked for 15 minutes on medium-low heat, stirring frequently so that the tomatoes don’t burn.
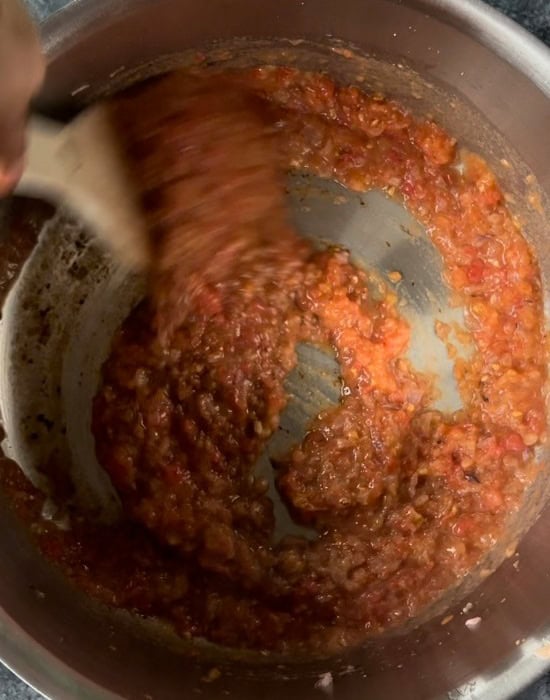
- Simmer chole for 30 minutes
Once the tomatoes are cooked, stir in the spices like chole masala and cook for 1 to 2 minutes and then add the chole. The chole needs to simmer for 30 minutes on low heat- this is where the magic happens and the flavors come together.
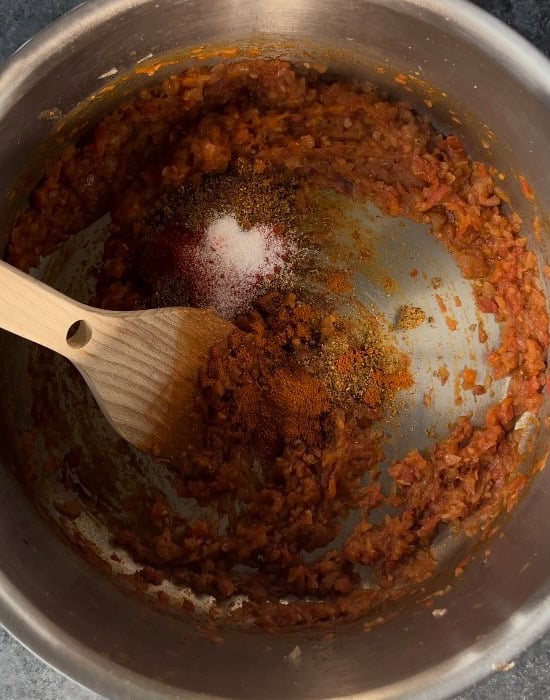
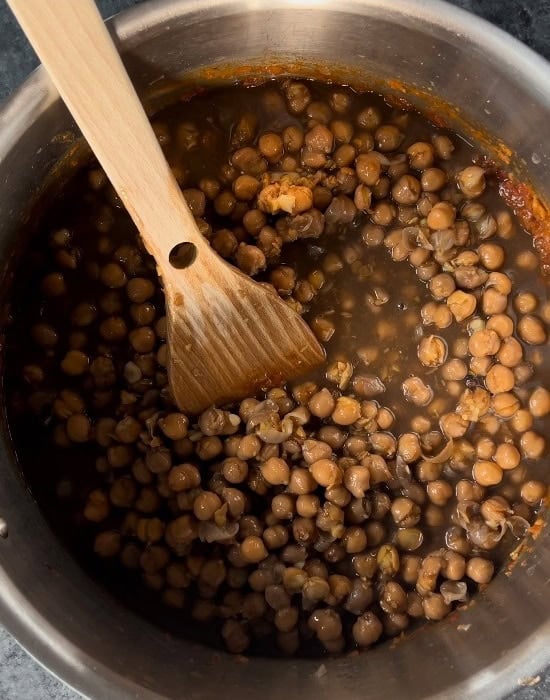
- Ghee tadka and fresh herbs to finish it off
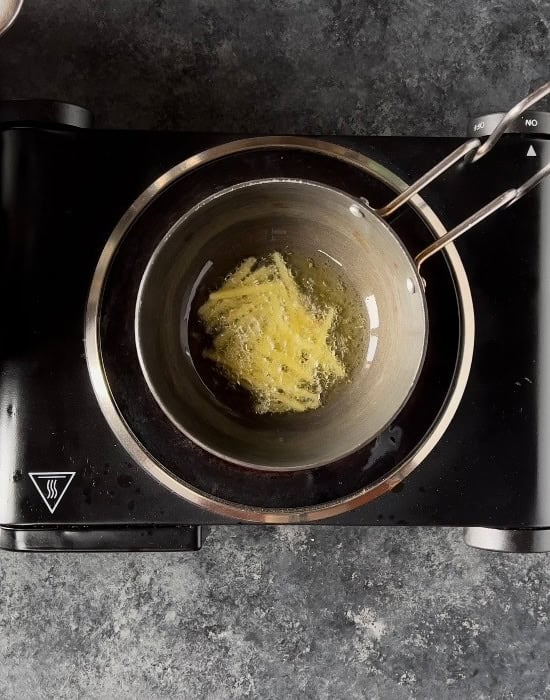
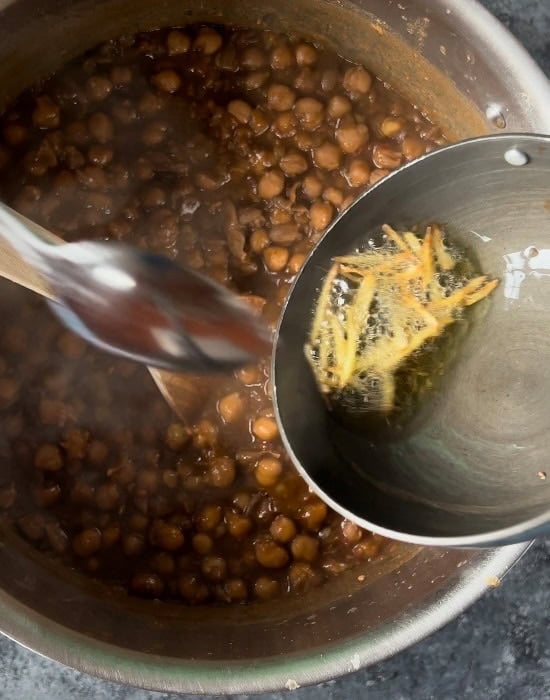
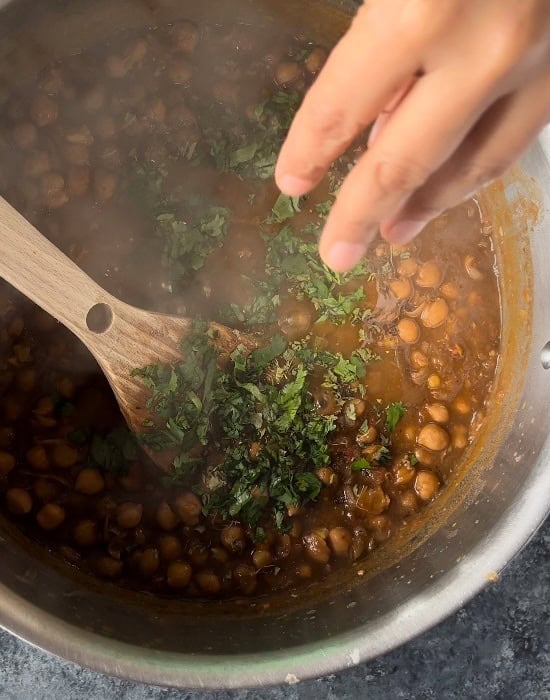
I love adding a tadka of ghee to my chole with some ginger juliennes. Add kasuri methi, garam masala and cilantro at the end for maximum aroma.
Serving Suggestions
Serve with bhatura (it’s the best) roti, tandoori roti or plain rice. You can also serve it with any grain of choice like quinoa, couscous etc. As I mentioned above, chole-bhature and chole-chawal (chole & plain rice) are very popular combinations in North India and it’s hard to beat these combos! If you would ask my husband, he would say that chole should be eaten only with bhatura or rice and nothing else.
What If I Only Have Canned Chickpeas?
In that case, you would not need to pressure cook the chickpeas since you already have cooked chickpeas on hand. For this recipe, you would need around 3 x 15 oz cans of chickpeas. Start by making the masala and go from there. Chole made from raw chickpeas, however, have much better texture so I would always recommend going the traditional route if you have time.
Yes, You Can Make Chole In Instant Pot!
To make this recipe in an instant pot, soak chickpeas overnight and then cook with whole spices, salt and black tea bags for 20 minutes on high pressure. Let the pressure be released naturally. Do the step of making the masala on the stovetop for that deep chole flavor.
You can do everything in one-pot too, in which case you will cook the masala first on sauté mode in the Instant pot (following the same steps of cooking the onions, tomatoes), then add the soaked chickpeas to the pot and pressure cook for 30 to 35 minutes. I like the convenience of one-pot cooking but for a nice Punjabi style chole, do make the masala separately and let the chole simmer on low heat. Trust me, it makes a difference.
But, What If Don’t Have a Pressure Cooker or Instant Pot?
Then you soak the chickpeas overnight and then add them to a wide pot with sufficient water, salt and whole spices and bring everything to a boil. Once it comes to a boil, reduce the heat to medium, cover the pan with a lid and cook the chickpeas on medium heat until they are very soft and tender. This will take around 1 hour on an open pan to reach that soft consistency. It might take longer depending on the intensity of the heat. You will need to add more water as needed as the chickpeas cook.
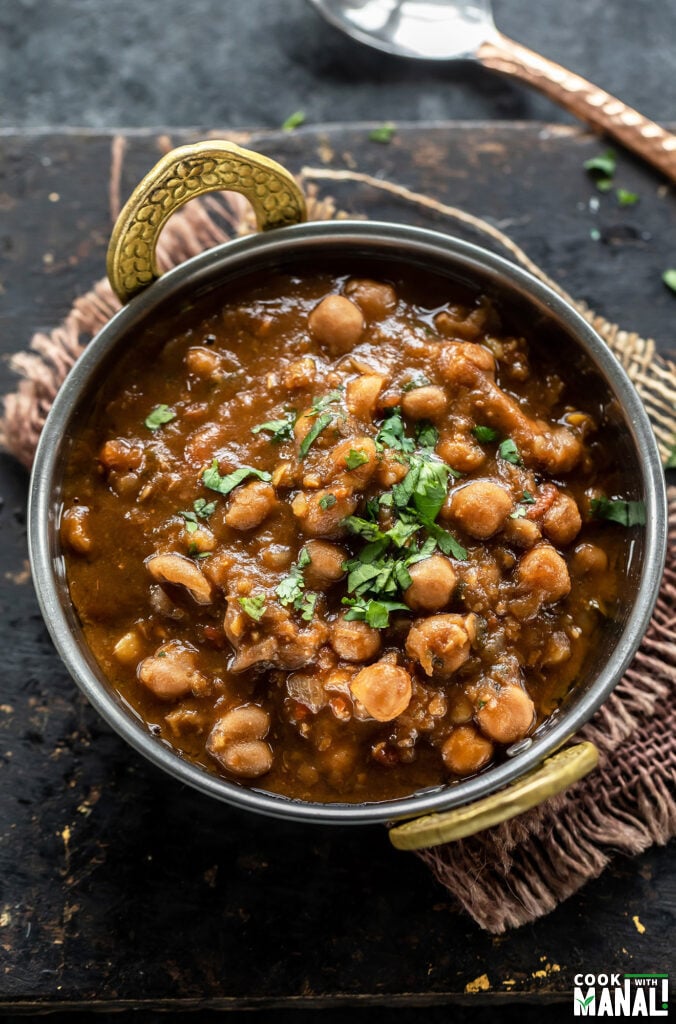
Chole Recipe (Punjabi Chole Masala)
Ingredients
To pressure cook
- 2 cups chickpeas, raw, to be soaked overnight
- 2 bay leaves
- 5-6 green cardamom pods
- 1 inch cinnamon stick
- 4-5 black peppercorn
- 2 black tea bags, for dark color of chole
- 1 teaspoon salt, adjust to taste
- 5 cups water
For the chole masala
- 1 & ½ tablespoons oil, use any oil of choice, I used avocado oil
- 2 whole cloves
- ¾ cup grated onions, or very finely chopped
- 2 teaspoons ginger garlic paste
- 2 & ½ cups pureed tomatoes , from 4 medium tomatoes
- 3 teaspoons chole masala powder, homemade (recipe above) or store-bought
- ½ teaspoon red chili powder, or to taste, use Kashmiri red chili powder for less heat
- ½ teaspoon paprika powder
- ¾ teaspoon cumin powder
- ½ salt, adjust to taste
To garnish
- 1 tablespoon ghee
- 1 inch ginger, cut into julienne
- ¼ teaspoon garam masala
- ½ tablespoon crushed kasuri methi, also known as dried fenugreek leaves
- 2 tablespoons cilantro, chopped
Instructions
- Soak 2 cups chickpeas overnight (or for a minimum of 8 hours) in enough water to cover them. In the morning you should have around 5 cups of chickpeas (they increase in size overnight as they soak). Drain the water in which the chickpeas were soaked. Then transfer the chickpeas to a stovetop pressure cooker and add the whole spices- 2 bay leaves, 5-6 green cardamom pods, 1-inch cinnamon stick, and 4-5 black peppercorns. Also add 2 black tea bags (for color), 5 cups water and 1 teaspoon salt.
- Close the cooker and cook at high heat for 1 to 2 whistles. Then lower the heat to medium and let the chickpeas cook for another 10 minutes or so. Then remove the cooker from heat and let the pressure release naturally. If using an Instant pot, cook on high pressure for 20 minutes and let the pressure release naturally.
- Once the pressure comes off, remove the tea bags and bay leaves using a pair of tongs. The tea bags are used for color only and don't have an impact on the taste of chole. Set this aside.
- Heat 1 & ½ tablespoons oil in a large kadai or pot on medium heat. Add 2 cloves and ¾ cup onions (grated) to the pot. Cook the onions until the raw smell goes away and they are light golden brown in color, this takes around 7 to 8 minutes.
- Then add 2 teaspoons ginger garlic paste and cook until the raw smell goes away, around 2 minutes.
- Now, add 2 & ½ cups tomato puree (from 4 medium tomatoes) and stir. Cover the pot and cook the tomatoes for around 15 minutes on medium-low heat, stir every 2 to 3 minutes in between. This step of cooking tomatoes is important.
- Once the tomatoes are done, add the spices- 3 teaspoons chole masala powder, ½ teaspoon red chili powder, ½ teaspoon paprika powder, ¾ teaspoon cumin powder and ½ teaspoon salt. Stir and cook the spices for a minute or two.
- Then add the boiled chickpeas, (along with the water in which they were boiled) to the pot and stir until the chickpeas are well combined with the masala. Add an extra ½ cup water here and then cover the pan and let the chole simmer on medium-low heat for 30 minutes. Simmering on how heat is what will give this chole so much flavor! Mash some of the chickpeas with the back of your spatula while they are simmering.The gravy will thicken after 30 minutes, so if you prefer more gravy in your chole, add more water than what is mentioned in the recipe.
- Then for the final step, heat 1 tablespoon ghee in a small pan on medium heat. Once hot, add 1-inch ginger juliennes and fry until the juliennes are golden brown in color but do not burn them. Add the ginger juliennes to the chole, stir and switch off the heat.
- Add ¼ teaspoon garam masala, ½ tablespoon kasuri methi and 2 tablespoons cilantro (chopped) and serve the chole hot with rice, bhatura, parathas and more!
Video
Notes
- Skip the ghee in the tempering to make this vegan.
- Adjust the amount of red chili powder in the recipe to taste.
- I like to keep the chole masala gravy on the thicker side, for a thinner gravy add more water.
- Chole freeze well. Let the curry come down to room temperature, store in an airtight container and freeze.
- Use fresh ginger-garlic paste and fresh tomato puree for best results.
Nutrition
Nutrition information is automatically calculated, so should only be used as an approximation.










Excellent chole recipe. I am new to cooking and have done this recipe several times, and each time people are wowed by the taste and flavor! Thank you so much!
Thanks for sharing! Makes me happy 🙂
Great recipe!
Note to UK readers, this recipe has U.S descriptors, so where it references ‘Now, add 2 & ½ cups tomato puree’ it doesn’t mean the type of tomato puree product sold in UK.
In this recipe, it calls for making a puree from 4 tomatoes, so removing the skin, and the watery seeds inside, leaving just the flesh, to whiz in a blender or finely chop.
Or you could use passata and reduce the water content, as passata is a bit more watery than a U.S puree.
Thanks for sharing Andie, I am sure it will be helpful to my UK readers.
I absolutely love chole qnd have tried many recipes over the years but this is the first one that is very close to the chole I ate in restaurants in India.
I think the time to let the tomatoes cook and the chole simmer made a huge difference.
I tasted before adding the ghee with the ginger and it was already great but this step bring the dish to another level!
Thank you Luisa! I am so glad you enjoy it!
Hi Manali,
Just wanted to share some feedback on the recent changes made to the recipe page.
I have been making this chole recipe for over six months now and everyone has had nothing but good things to say about it. I make it at least once a month, sometimes more. It really is that good!
However, with the recent changes to the page, it is taking me longer to follow along while reading. Because I have made it so many times I can still work out what needs to be done, but before the update the instructions were laid out very clearly alongside the pictures and it was much easier to follow, especially for the initial section covering the pressure cooker steps and the ingredients that go in at that stage.
It would be great if that section could be revisited to bring it back closer to the previous format. Just wanted to share this as someone who uses this recipe regularly.
Thank you!
Hi Harsh, thanks so much for sharing your feedback. The pictures and recipe are the same. Majority of the users press the jump to recipe button at the top and go straight to the recipe card. Because the instructions were getting duplicate in the post and recipe card, I made the post more concise. The recipe card has complete instructions with ingredient amount etc. You can always refer to pictures as needed. I appreciate your feedback.
Hi – I love your recipes, especially the instant pot ones. However, I find cup measures difficult as I am used to weights (grams/ounces) and volume (litres/fluid ounces). Can you state the volume of the cup you use so I can be more accurate?
Hi Ani, I use US standard cup where 1 cup is 240 ml/8oz
Hi Manali –
If using canned chickpeas what are the modifications? Do we still use the whole spices and the tea bags as you would for instant pot or pressure cooker?
Thanks,
Richa
Hi Richa, I would still use the whole spices, you can skip the teabags if you don’t care for the color. I would just proceed to making the masala in this case, add the whole spices to the oil before you add the onions. Skip the instant pot/pressure cooker step
Hi, I don’t have a pressure cooker but have a 3 qt instant pot. Can I make this in the instant pot?
Thank you,
Sonia
Yes, I would boil the chickpeas first with whole spices, salt and water, high pressure for 20 minutes in an Instant Pot with natural pressure release.
Really nicely written directions and recipe. Came out great!
Thank you Pri, glad you enjoyed it
I don’t have a pressure cooker or an instant pot. Can this be cooked using the stove top method or would it not turn out as good?
it can for sure, soak the chickpeas overnight and then cook in a pan until soft and cooked through. it will just take more time
Roughly how many onions make 3/4th cup ?
It depends on the size of the onion, in the US, we get really big onions sometimes, so even 1/2 is enough