Idli Recipe (Idli Batter Recipe with Tips for Soft Idli)
Idli is a steamed savory cake made with fermented rice and lentil batter. They are a staple food in South India and are enjoyed with sambar, and chutney. This recipe goes through step by step instructions on how to make idli batter from scratch at home and also shares tips to make soft idli!
This post may contain affiliate links. Please read our disclosure policy.
Step by step recipe tutorial on how to make soft and fluffy Idli from scratch at home. Idli is a steamed rice and lentil cake which is a staple food in many parts of South India. Idlis are made from a fermented batter and are also vegan and gluten free. I have learnt a lot of tips and tricks over the years on how to ferment the batter and how to make soft idli each time and I share all that and much more in this post.
If you are struggling to make good Idlis in your kitchen, then this Idli recipe might just be what you need. Enjoy hot idlis with sambar, coconut chutney and a side of filter coffee!
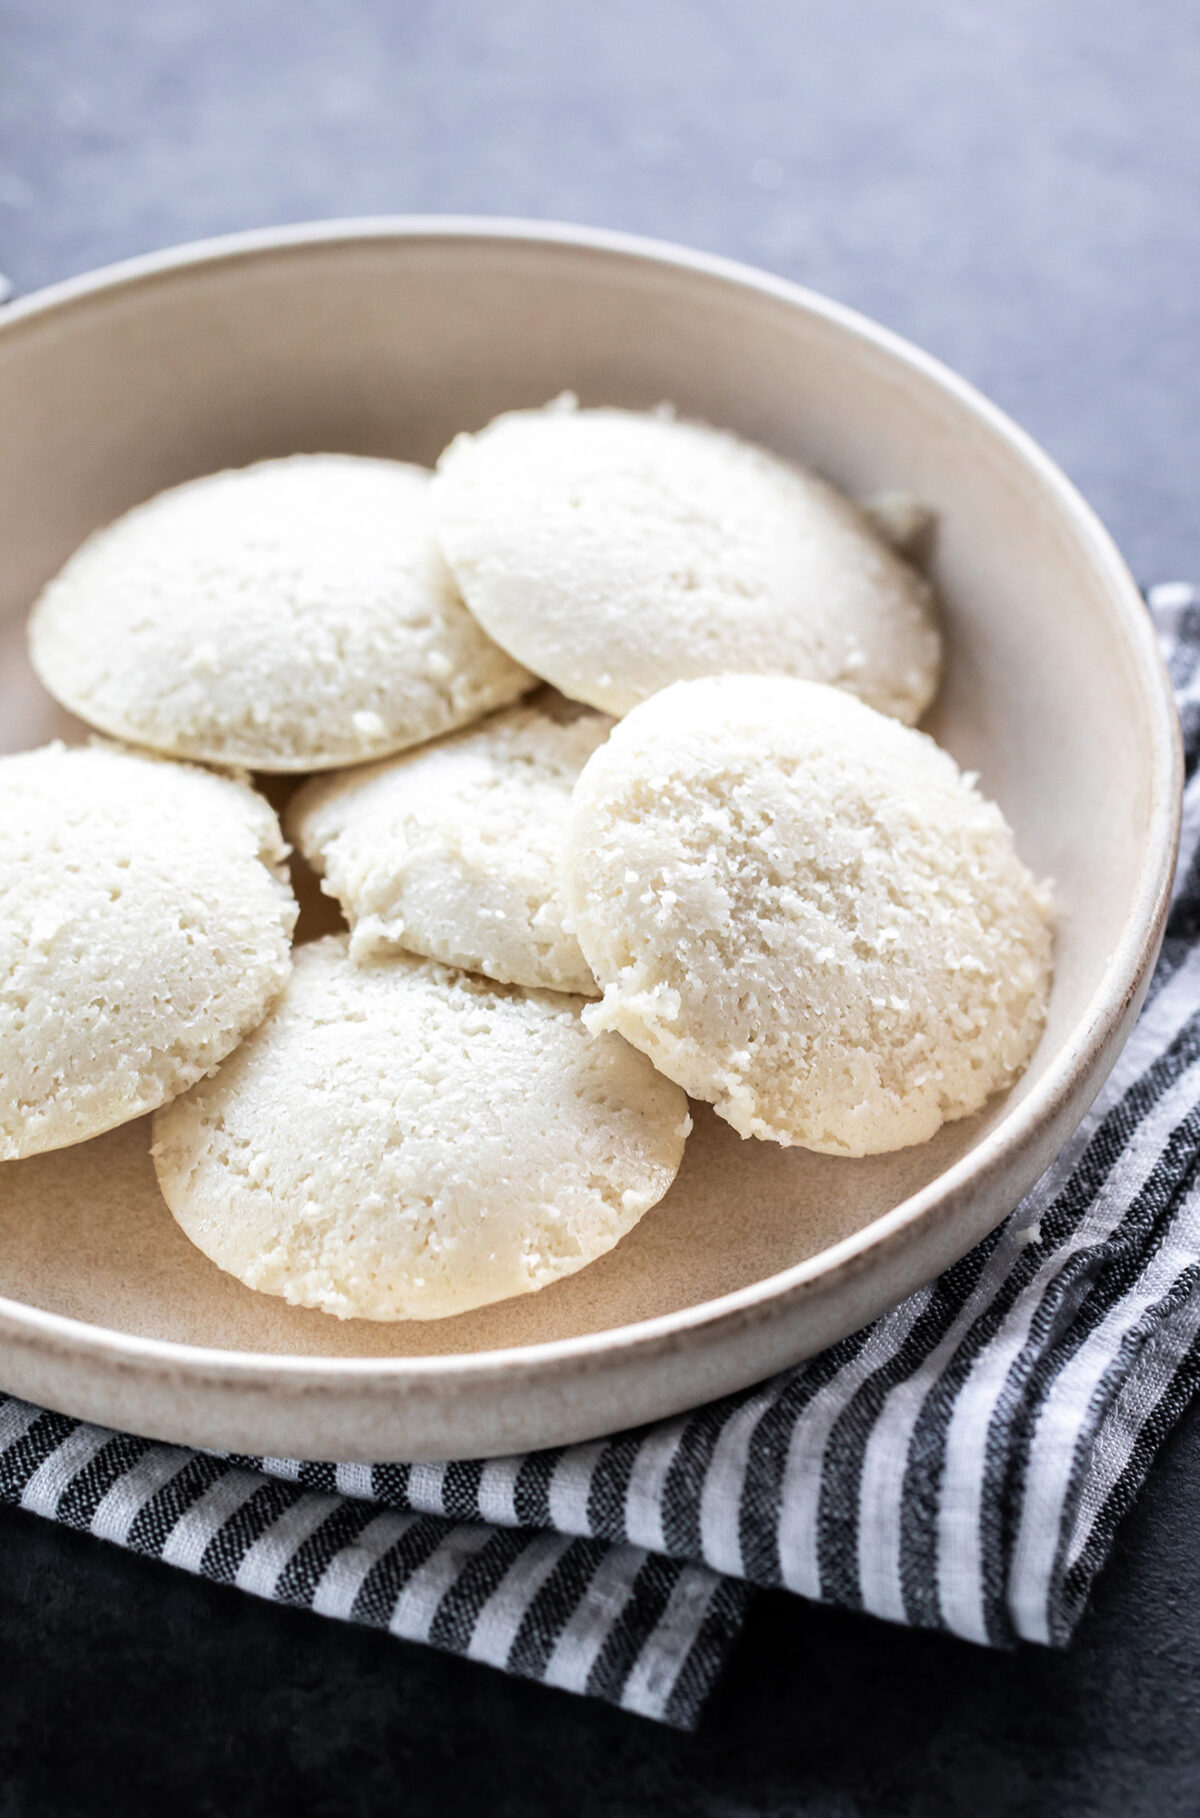
Idlis in most south Indian homes are made using a wet grinder. I do not have a wet grinder so my recipe is adapted using a high speed blender. If you have a high speed blender in your kitchen (like a Vitamix or Blendtec) then that’s all that you need to grind the soaked rice and dal.
Table of Contents
Some Important Points
We know that Idli is made from rice and dal (lentil) but there are so many parts to the Idli recipe that need attention from using the right rice and dal to getting the fermentation right. Here are a few important pointers to keep in mind before we jump onto the idli recipe.
- Type of Rice & Dal: I like using Idli rice which is parboiled small grain rice for making idlis. Sona masoori also works well. But parboiled rice works best in my experience in making soft idlis. As far as the dal is concerned, there are different varieties of Urad dal that can be used for making idlis. I have made idlis with dhuli urad dal (split and dehusked black gram lentil) and while it works fine, I have always gotten the best results with urad dal gota (whole dehusked black gram). I highly recommend using idli rice and urad dal gota for making idlis.
- Rice and Dal Ratio: Everyone has a ratio that they think work best for making idli, through my experiments over many years, I have come to the conclusion that ratio of 4:1 of rice to dal works best in giving soft and fluffy idlis.
- Hours to ferment: The time it takes for the batter to ferment depends on where you live. If you live in a warm place like Delhi during summers this batter would probably ferment in 6 hours or less just on the countertop. However if you live in Canada, during winters, the same batter might take 14 to 16 hours to ferment.
- Where to ferment the batter: As I mentioned above, this depends on the weather. If it’s hot where you live, just place the batter on the kitchen counter and it will ferment. For cold places, you can place the batter inside the oven with oven lights on (and oven off) or you can place the batter in the Instant pot and use the yogurt button to ferment the batter. You can also preheat your oven to 200 F for 10 minutes and then turn off the oven (please don’t let the oven be “on” else the heat will kill the yeast). Wait for 10 minutes for the temperature to come down a little and then place the batter inside the oven to ferment. Personally, I always stick to the Instant pot and it gives me consistent results.
- Adding salt: Adding salt before fermentation or after fermentation is often a topic of debate. The iodine in the salt is said to inhibit fermentation and that’s why so many experts say that you should add salt later once the batter is fermented. However, I always add salt (and I use sendha namak which doesn’t have iodine) before fermentation and mixing it with the ground rice and dal (using my hands) seems to help in the fermentation process in colder places. You have to see what works for you. Adding salt before fermentation is what works for me. Make sure to always add non-iodized salt to the batter if you are adding it before the fermentation.
How to Make Idli -Step by Step Tutorial
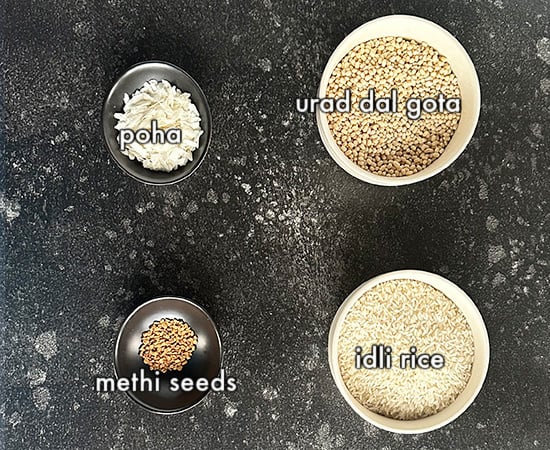
Gather all the ingredients- idli rice, urad dal, methi (fenugreek) seeds and poha.
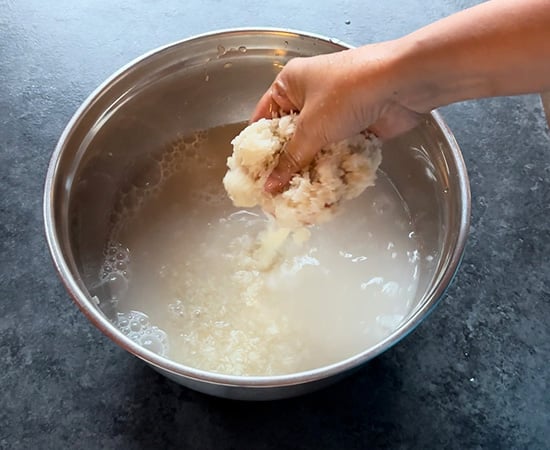
Take 4 cups (800 grams) of idli rice and rinse it under running water until the water turns clear. Transfer the rice to a large bowl, add enough water around 6-7 cups to cover it. Cover the bowl with a lid and let it soak for 5 to 6 hours as well.
Now, take 1 cup (200 grams) of urad dal gota and rinse it under running water and then transfer it to a medium size bowl. Now, add 2 to 3 cups of water to the dal, also add 1/2 teaspoon of fenugreek seeds (methi). Cover and soak the dal for 5 to 6 hours.
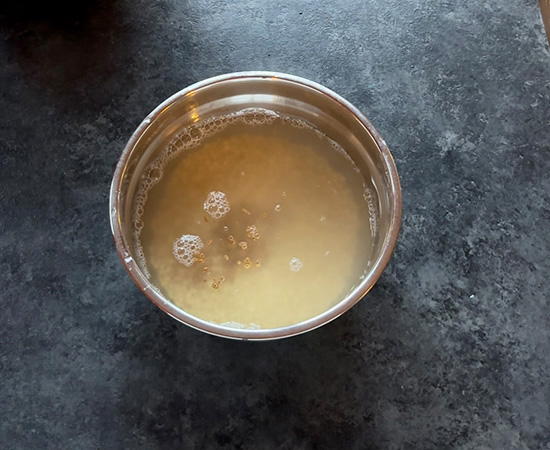
30 minutes before grinding the dal and rice (so if you are soaking them for 6 hours, do this when 5& 1/2 hours have passed away), soak 1/4 cup poha in some water. The poha needs to be soaked only for 30 minutes.
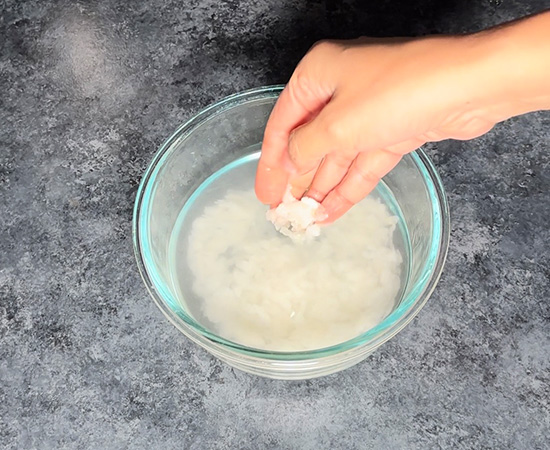
Once 6 hours are up, drain the water from the dal and fenugreek seeds using a strainer. Now add around 1 (8 oz) to 1 & 1/4 cups (10 oz) cold water to a blender (I used my Blendtec) and then add the drained dal and fenugreek seeds to the blender. Start with 1 cup of water and add more as needed.
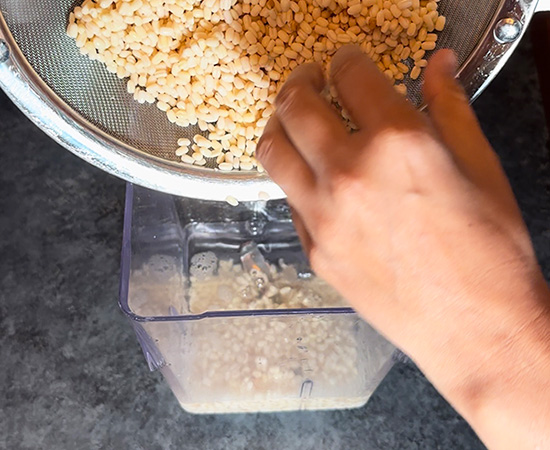
Grind the dal to a fine paste. On Blendtec, you can use the smoothie function which grinds for 60 seconds. Transfer the ground dal to the steel pot of the instant pot (if you are using the instant pot to ferment the batter) or you any large container otherwise.
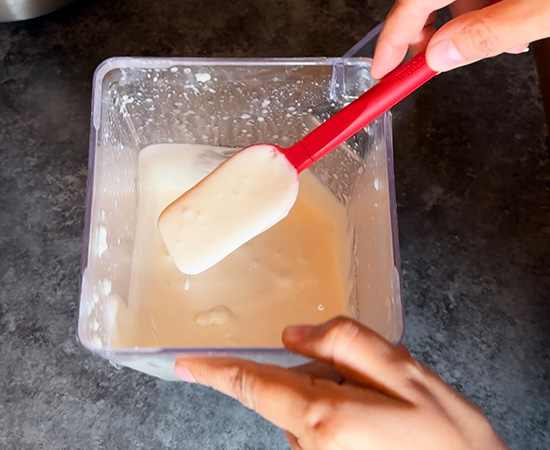
Now, drain the water from the rice using a strainer. Also, drain water from the soaked poha. Add around 1 & 1/2 cups (12 oz) ice cold water to the same blender and add the drained rice along with drained poha to it. PS: start with 1 & 1/4 cups of water and add the remaining 1/4 if needed.
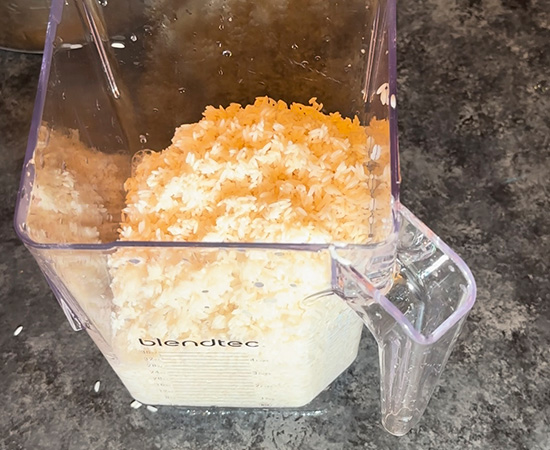
Grind the rice similarly to a smooth paste. The rice usually will have a slight coarse texture compared to the dal.
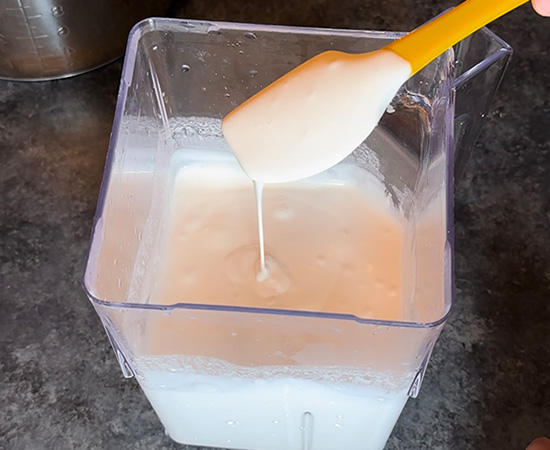
Now, transfer the ground rice to the same pot with the dal. Add 2 teaspoons of sendha namak and start mixing the ground rice and dal with the salt using your hands. Do not add salt before if you live in a warm place. I live in a cold place so adding the salt before helps in starting the fermentation process.
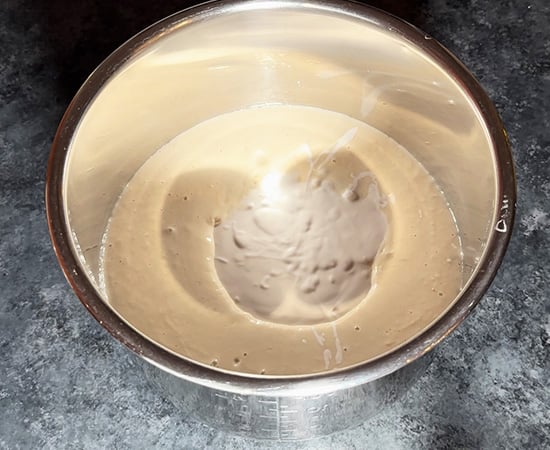
Mix everything using your hands for 2 to 3 minutes, this helps in starting the fermentation process. The consistency of the batter should be thick but pouring. It should not be runny.
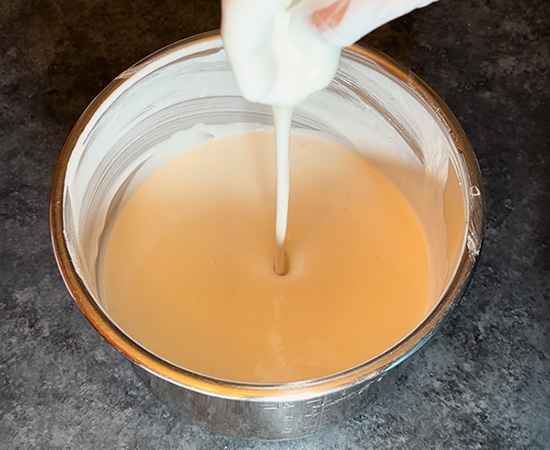
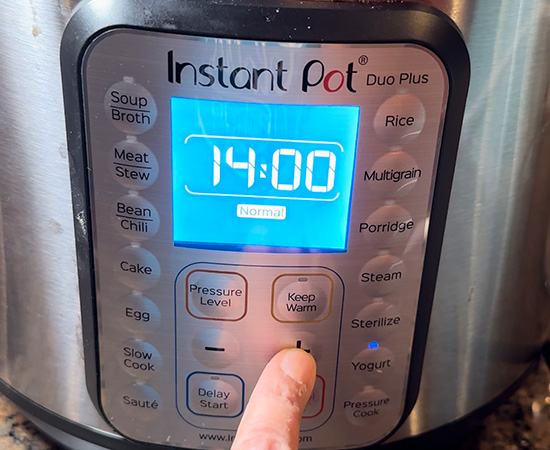
If using an Instant pot, place the steel pot back into the instant pot and cover it with a glass lid. I recommend using a glass lid rather than the instant pot lid since the batter might ferment and lock the lid so the glass lid works better. Press the yogurt button and set the time to 14 hours. The position of the valve does not matter on the yogurt setting. I live in a cold place so it takes around 14 hours for the batter to ferment in the Instant Pot. If you live in a warm place, this can happen in 6 to 8 hours or even earlier in summers.
If you don’t have an instant pot, cover the bowl with a plate and place it on the countertop if it’s hot where you live. If it’s cold where you live, place the bowl inside the oven with oven lights on (and oven off obviously). The timing the batter will take to ferment will vary greatly depending on the weather.
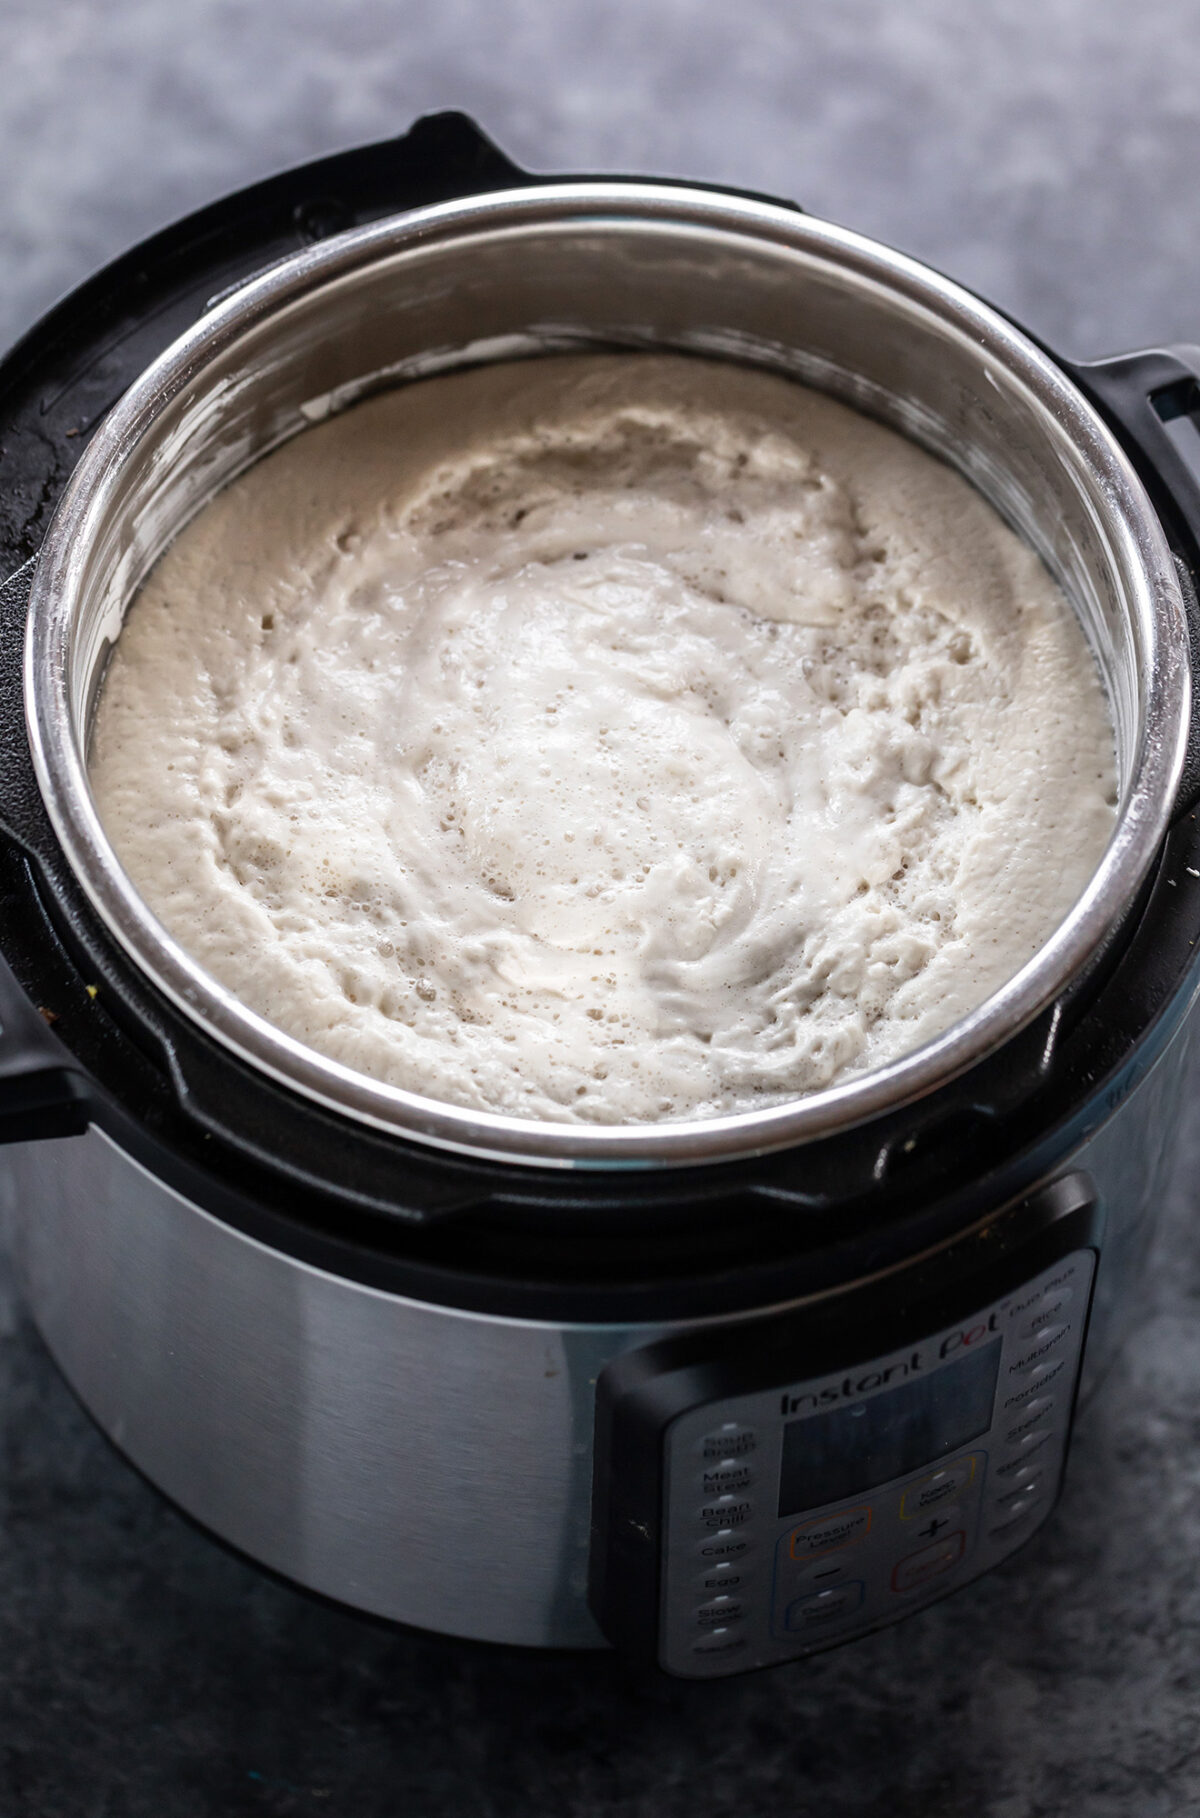
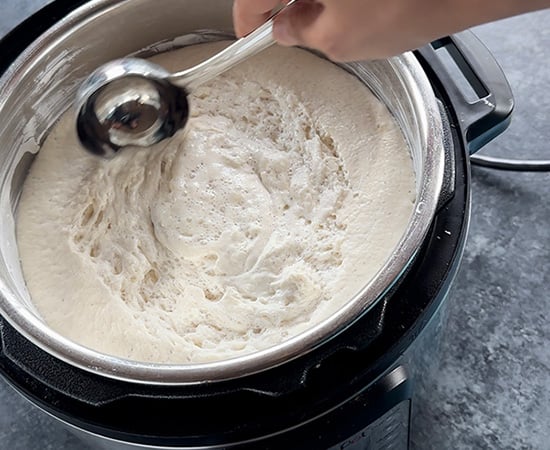
After 14 hours, my batter was well fermented. It had lots of bubbles on top, it had nicely risen and was bubbly at the top. You will also notice that the batter becomes a little runnier/thinner after fermentation. You can drop some batter in a bowl filled with water if you are not sure if your batter has fermented or not. If well fermented, the batter will float in water else it will sink to the bottom of the bowl.
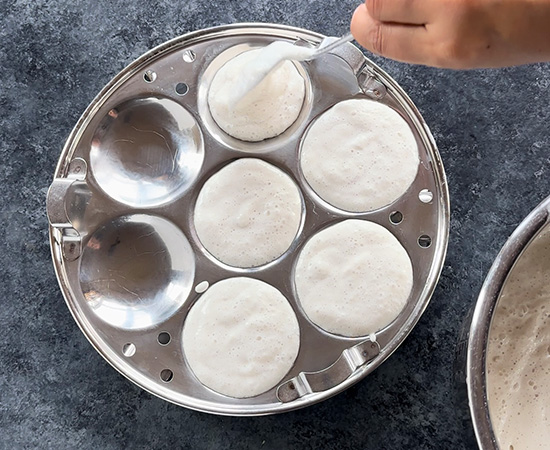
To make idli, grease the idli molds with little oil. Add water to your steamer and let the water come to a boil on medium heat. Fill the molds with the idli batter. Don’t overfill them.
Once the water in the steamer starts boiling, place the idli stant with the insert in the steamer.
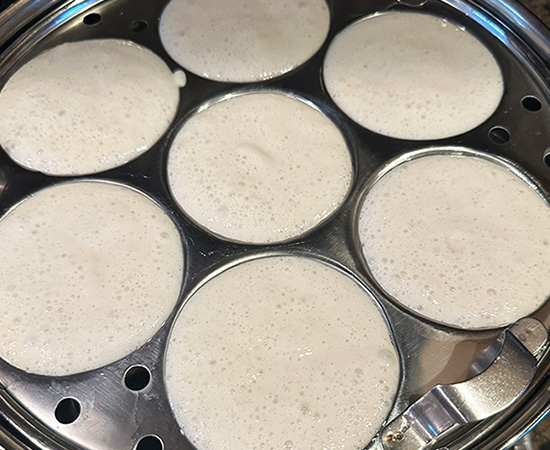
Cover the steamer and steam for around 8 to 10 minutes only on medium high heat. Do not steam for a long period as that leads to rubbery, dry and chewy idlis.
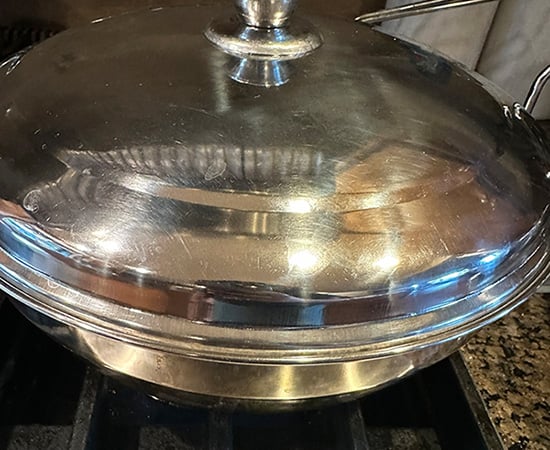
Remove the steamer from heat, let it sit like that for 2 minutes. Then open the steamer, carefully remove the idli molds from the steamer. Let the idlis sit for 5 minutes and then remove them carefully from the molds using a flat spatula or knife. If you try to remove them immediately, they might break or stick. Enjoy the idlis hot with sambar and coconut chutney or peanut chutney.
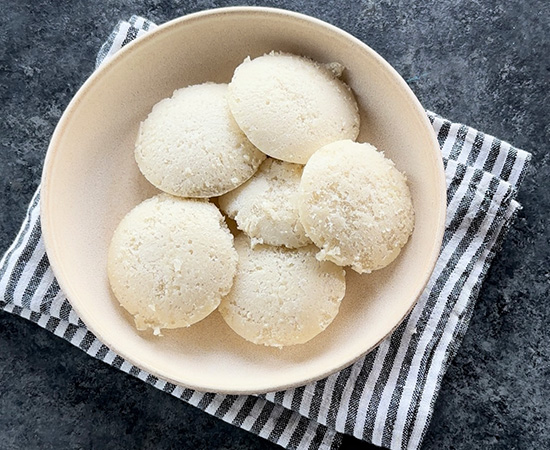
Tips to Make Soft Idli
Here are some important tips that result in soft idlis (besides getting the fermentation right, which is obviously most crucial for soft idlis).
- Add some poha in the batter: To make soft idlis, definitely add some poha to the batter. Anywhere around 1/4 to 1/2 cup of poha will be good in this recipe. The poha only needs to be soaked for 20 to 30 minutes. It can either be thin poha or thick poha, it doesn’t matter. I have used thick poha in this recipe.
- Do not add too much water while grinding the batter: This is an important point and you have to be careful about this. I have given a rough estimate on how much water should be added, but it will vary on the variety of rice and dal being used. Runny batter will lead to flat idlis so make sure that you do not add excess water while grinding the rice and dal. You must remember that the batter also thins out a little once it is fermented so don’t add too much water while grinding.
- Do not use old rice and dal: One of the things which I have noticed that does make a difference to the final texture of the idli is how old is the rice and dal that you have used to make the idli. Sometimes, we use dal and rice which has been sitting in the pantry for too long and that doesn’t give the desired result.
- Steaming for a longer time results in hard idli: The idlis need to be steamed for just the right amount of time. If you steam them longer, they might dry out. 8 to 10 minutes is my sweet spot.
Storing the Idli Batter In Fridge
My idli batter usually stays well in the fridge for 3 to 4 days. I just bring it to room temperature before making the idli. If you have steamed the idlis already, and can’t consume them all, you can place the leftover idlis in the fridge and reheat them in the microwave. Put the idlis on a plate and put a damp paper towel on top and microwave for 1 to 2 minutes. They should be soft and nice again. You can also reheat idlis in a steamer.
Freezing the Idlis
Sometimes, I make a big batch of Idlis and freeze them. Idlis actually freeze beautifully. Steam them as usual and then allow them to cool down. You don’t need to let them cool down all the way (locking some moisture helps in the idlis staying soft once reheated), just let them come to room temperature and then freeze in ziplock bags. I usually freeze 4 to 5 idlis in a single bag. They will be good for up to 2 months in the freezer.
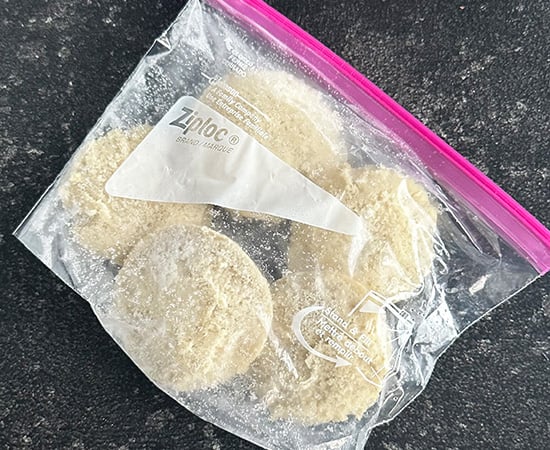
Reheating the frozen idli: when you want to eat the idlis, you can reheat them in the microwave or stovetop. My preferred way to reheat frozen idlis is on the stovetop using a steamer. Heat water in a steamer, once the water comes to a boil, place the idlis into the steamer and steam for 6 to 7 minutes on medium heat. They will be soft and nice once again. And you can enjoy them with sambar.
If you want to reheat them using a microwave, cover the idli with a damp paper towel, then place in a plate and microwave in 1 minute increments until it is soft.
How To Make Idli In Instant Pot
To steam the idlis in an Instant pot, add around 1 & 1/2 cups of water to the steel pot of the Instant Pot and let it come to a boil. Fill the idli molds with the batter. Once the water starts boiling, place the idli stand in the instant pot and close the lid. Press the steam button and steam on high for around 10 to 12 minutes. Turn the pressure valve to the venting position since we don’t want to pressure cook the idli.
Note: on venting position, you will have to calculate the cooking time externally as the instant pot will not display any timer.

Idli Recipe (Idli Batter Recipe with Tips for Soft Idli)
Ingredients
- 4 cups idli rice 800 grams
- 1 cup urad dal gota 100 grams, whole dehusked black gram
- ½ teaspoon fenugreek seeds
- ¼ cup poha flattened rice, I used thick poha
- 2 teaspoons sendha namak rock salt
Instructions
- Start by rinsing the rice until the water turns clear. Now transfer rice to a large bowl and add 6 to 7 cups of fresh water to soak the rice. Cover and bowl and let the rice soak for 5 to 6 hours. You might need to soak longer during colder weather.
- Now, do the same with urad dal. Rinse it with water and then transfer it to a bowl. Add methi seeds and then add 2 to 3 cups of water to soak it. Cover and let the dal and methi seeds soak for 5 to 6 hours.
- 30 minutes before grinding the dal and rice (so if you are soaking them for 6 hours, do this when 5& 1/2 hours have passed away), soak the poha in little water in a small bowl. The poha needs to be soaked only for 20 to 30 minutes.
- Once the dal has soaked for 6 hours, drain all the water using a strainer. And then transfer the soaked dal and the methi seeds to a blender with ice cold water. The cold water helps prevent excessive heating of the blender. Blend the dal to a paste. You would need around 1 cup (8 oz) to 1 & 1/4 cup (10 oz) water to blend the dal. Start with 1 cup and add more as needed.I used the smoothie setting on my Blendtec which grind the dal for 60 seconds. You can use any high speed blender that you have. Transfer the dal to a large bowl or to the steel pot of your Instant pot if you are going to use the Instant pot for fermentation.
- Now, similarly drain the water from the rice using a strainer and also drain the water from the soaked poha. Transfer the drained rice and poha to the same blender (no need to clean it) and add ice cold water. Blend the rice to a coarse paste. I again used the smoothie function on my blender which blended the rice and poha for 60 seconds. You would need around 1 & 1/4 cups (10 oz) to 1 & 1/2 cups (12 oz) water to blend the rice. I used 1 & 1/2 cups.
- Transfer the ground rice to the same bowl/pot as the dal. Add sendha namak and using your hands mix the rice and dal together nicely for 2 to 3 minutes. Mixing them together with your hands helps in kickstarting the fermentation process. You can skip adding salt if you live in a warm place and add it after fermentation. Personally for me, adding salt before fermentation always works. Also, make sure to use non-iodized salt like sendha namak, do not use iodized salt since that might interfere in fermentation.
- The batter should have a thick pouring consistency. The batter should not be runny else your idlis will turn flat. Now place the bowl in a warm place for the batter to ferment.If using Instant Pot, place the steel pot back into the Instant Pot. Cover with a glass lid (not the regular instant pot lid so that it doesn't lock once the batter ferments) and then press the yogurt button. The Instant pot will maintain the optimal temperature required at this setting for the batter to ferment. Set the time to anywhere between 8 to 14 hours depending on the weather. Mine ferments in 14 hours since I live in a cold place.
- If you don't have an Instant Pot, you can place the batter on the counter to ferment if you live in a warm place. If you live in a cold place, you can preheat your oven for 5 minutes at 200 F degrees, then turn it off, wait for it to cool down for 5 minutes and then place the bowl inside the oven. Or place in the oven with the oven lights turned on (and oven turned off obviously, you don't want to kill the yeast).
- Once the batter is well fermented it will double in size, you will see lots of bubbles at top and will look frothy. If you want to check if your batter has fermented or not, you can take some water in a bowl and add a little bit of batter to it. If the batter has fermented, it will float in the water since it has air in it from fermentation. If it sinks that means it is still not fermented.
- To make the idlis, add 1 to 2 cups of water to your steamer and let it come to a boil on medium-high heat. Meanwhile grease the idli molds lightly with oil and then add batter to each cavity.
- Once the water in the steamer starts boiling, place the idli molds with the insert in the steamer. Cover and steam the idli for around 10 minutes on medium-high heat. I usually steam somewhere between 8 to 10 minutes, steaming for a long time will lead to dry and chewy idli.
- Once steamed, remove the steamer from heat and let it sit covered for 2 minutes. Then open the lid, let the idlis sit for 5 more minutes like that and then remove them carefully from the molds. If you try to remove them immediately from the mold, they might break/stick. Serve hot with sambar, and coconut chutney. Make all the idlis similarly.
Notes
- The total time includes the soaking time of 6 hours.
- If you can’t find idli rice, you can use sona masoori rice. The recipe will also work with basmati rice but the texture of the idli is much better with parboiled rice.
- If using Instant Pot for fermentation, use a glass lid to cover the pot rather than the regular Instant pot lid. The batter might overflow after fermentation locking the Instant Pot and so it’s advisable to use a glass lid.
- Follow step by step instructions and all the tips in the recipe post the best results.
Nutrition
Nutrition information is automatically calculated, so should only be used as an approximation.



Tried Idlis turned out Sof Spogy as expected , thanks for sharing tips .
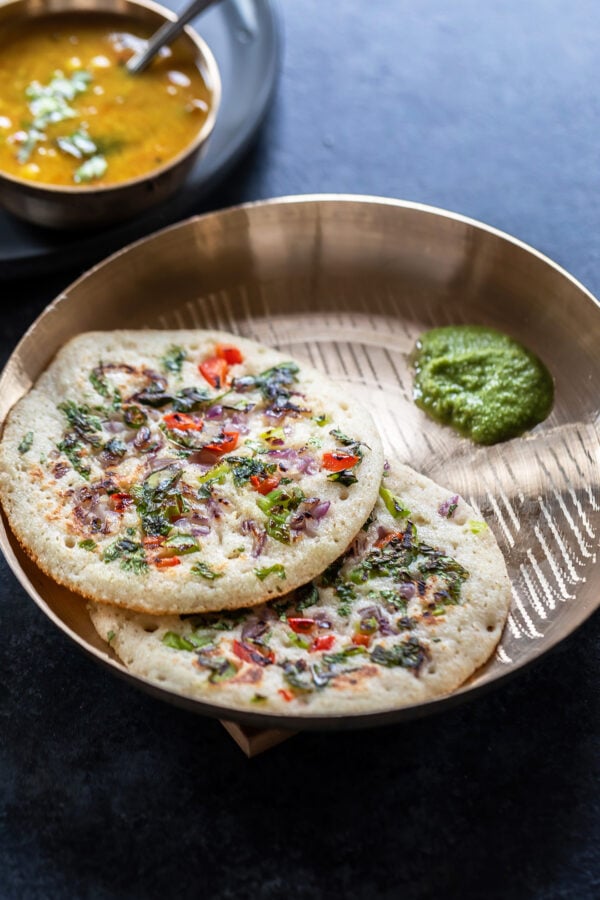
Looking forward for similar cooking instructions for Uttapam Coocking
Thanks Regards
will share uttapam recipe too, thanks for trying the idli recipe and glad it worked out well
Hi, Can I use it sago 1/2 cup instead of poha?
I have not tried with sago , let me know how it works!
I am using stone grinder only instead of modern mixie. This will bring best flavour to idlis. I am wondering why so much use of modern tools like instant pot? Should be using pressure cooker is method mother has been showing me since small child.
I am using Amul butter to make ghee then making nice gunpowder to consume with idlis. Please to share any gunpowder recipes.
Many Thanks
Binayak Shridhar
Ms in Tech IIT Bangalore
Hi! you can use whatever method you want 🙂 Many people use these modern gadgets as it gives them consistent results. I don’t own a stone grinder and so I have provided the method using Blendtec. If I had a stone grinder, I would have used it. Regarding IP, you can ferment without it definitely. I live in a cold place and batter needs to placed somewhere warm like inside oven or in the Instant Pot to ferment especially during winters. So that’s why I have provided instructions for that. Please feel free to use whatever method you prefer. I will try and share gunpowder recipe. Thank you!
Stone grinder is best. I am purchasing one in marketplace on the Facebook which is first class quality.
Yes I am in climate where 35 degrees centigrade is very common so will refrain from using such modern things. Authentic should be top priority.
Please to share gun powder recipes at convenience
Binayak Shridar
Ms in Tech IIT Bangalore
Hi Manali – where do u get the idle cooker container that is shown in the pictures?
I got it from India but you can get it from amazon. Also, I have seen it at Indian grocery stores.
i’ve always wanted to make idli from scratch and this recipe was super easy to follow and came out great! i followed it exactly, blending the batter in vitamix, fermenting in the instant pot, and steaming in a pot on the stove.
Thank you, so glad it came out well 🙂
Hi Manali, I loved your detailed recipe of Idli. My idli always came hard but i will definitely try and let you know!
I have blentec and what setting do you grind rice?
Which rice do you use?
You don’t put Eno or soda in batter, correct?
At your convenience please reply!
I live in Southern California
Thank you!
Hi Meena, all your questions are answered in the post :). I used smoothie setting on blendtec which grinds for 60 seconds. I have used idli rice, I am not particular about the brand of idli recipe. There’s no eno or soda is the batter, this is a classic Idli recipe so just natural fermentation.