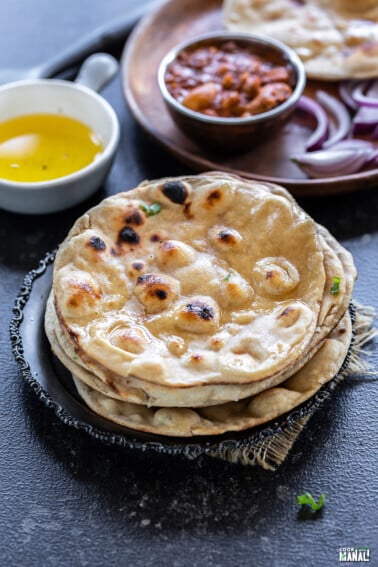
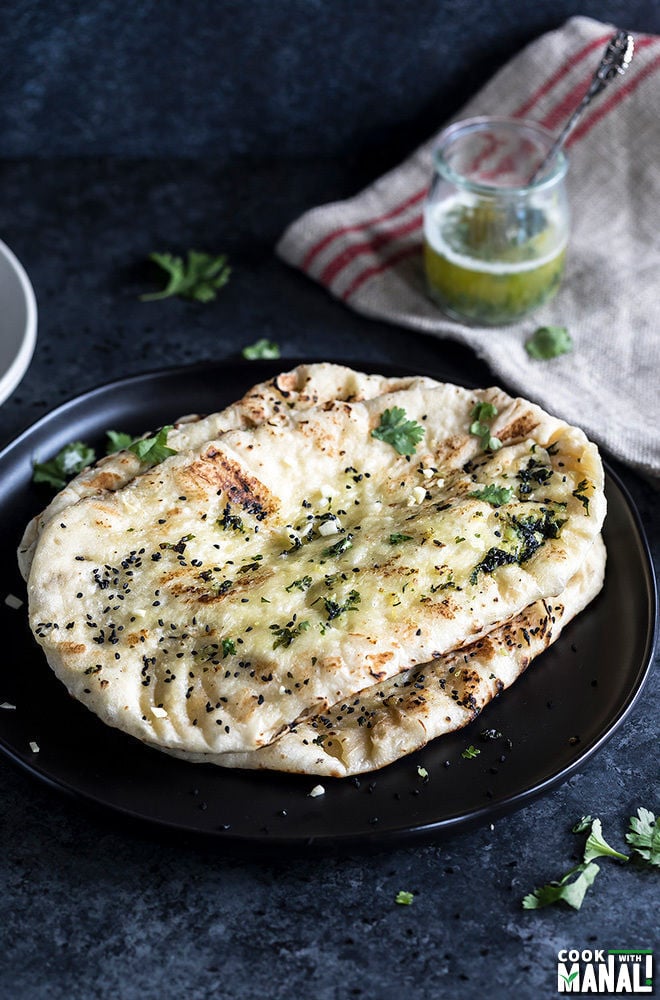
Making garlic naan at home, from scratch is easier than you think and I am going to show you exactly how with my easy, foolproof, step-by-step recipe. These garlic naans are soft, pillowy and perfect for dunking into my creamy dal makhani or restaurant style butter paneer. They also freeze well, so that you can enjoy one whenever you crave it!
You only need a few basic ingredients to make these naans at home, and I am pretty sure you have them already in your pantry. Once you make these, you would never want to buy frozen ones again.
We grew up eating warm homemade roti at home on a regular basis, and naan was something we enjoyed at restaurants and parties too. I know, a lot of folks in the US think that Indians eat naan everyday but that’s simply not the case. In India, it was easier to get good naan from outside but once I moved to the US, I quickly realized that I need to make naans at home. The frozen, rubbery naans were just not making the cut.
After making these naans multiple times over the years, and multiple rounds of recipe testing, it’s safe to say these are my favorite homemade garlic naans. They are not chewy, or stretchy or rubbery. They are just perfectly soft to enjoy with your favorite curries.
My Garlic Naan Secret Ingrdient: Yogurt~
Like most breads, naan is made with basic ingredients like flour, yeast, water/milk, sugar. I like adding some yogurt to keep them soft (I make my butter naan the same way too!). I have tested this recipe with and without yogurt and the one with yogurt always yields softer naans.
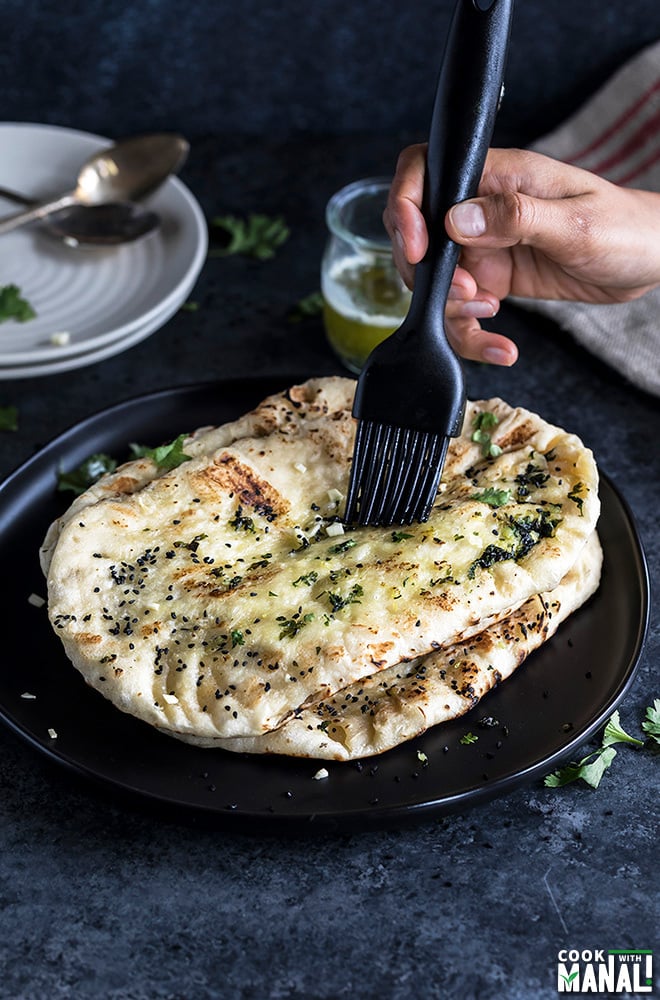
Since this recipe is for garlic naan, I also add some grated garlic to the dough and then brush the naan with lots of garlic butter. The additional garlic butter on top takes them to the next level.
I made this garlic naan on the stove top. Traditionally naan is made in a tandoor (clay oven) but at home, I prefer the stove-top method because they are much softer and better when cooked on a stove-top compared to when cooked in an oven.
I highly recommend cooking these on a cast iron skillet. I have made these on non-stick and other pans; they taste so much better when made on a cast iron because the cast iron gets really hot (like tandoor) and retains heat (and distributes heat evenly), making the naan chewy. It also gives the naan a smoky flavor which you don’t get with non-stick pans.
Troubleshooting My Garlic Naan Recipe
- Dough too sticky: my recipe results in a sticky dough, but resist the temptation to add more flour as this will make then naans dough-y. Let the dough rest if it’s becoming difficult to roll and then roll gently. Apply some oil on your hands while handing the dough- it helps.
- Yeast not rising: If there’s no froth after 5 to 10 minutes of adding active dry yeast to warm water, discard the mixture and start over again. It most probably means either your yeast is old or the water you added was too hot (hence killed the yeast) or too cold (yeast couldn’t activate). Optimal range for active dry yeast to activate is between 105-115 F degrees.
- Unable to roll the naan: the dough is sticky so rolling the naan can feel tricky. Let the dough rest and then roll gently. Apply some oil on your rolling pin also while rolling these naans. Roll lengthwise first and then roll sidewise.
Let’s See How I Make Garlic Naan At Home!
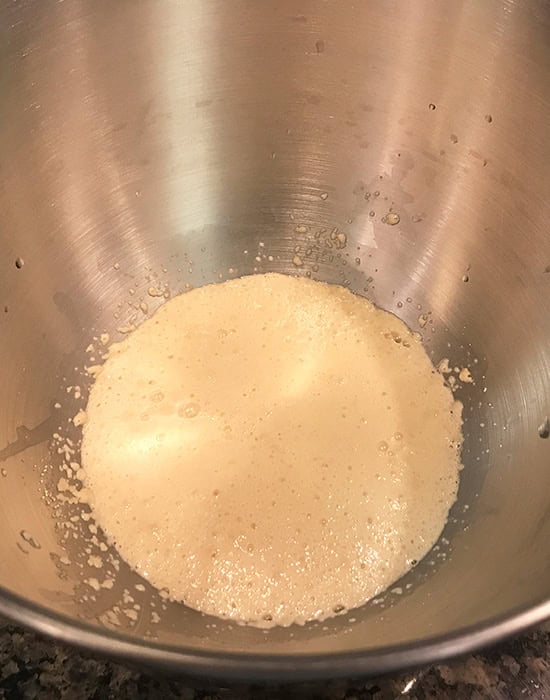
- Let’s activate the yeast first
Since I use active dry yeast for the recipe, it needs to be activated first. Mix the yeast with warm water and some sugar and let it bloom. It should be nicely frothy within 5 to 10 minutes. Only then add milk, yogurt and oil.

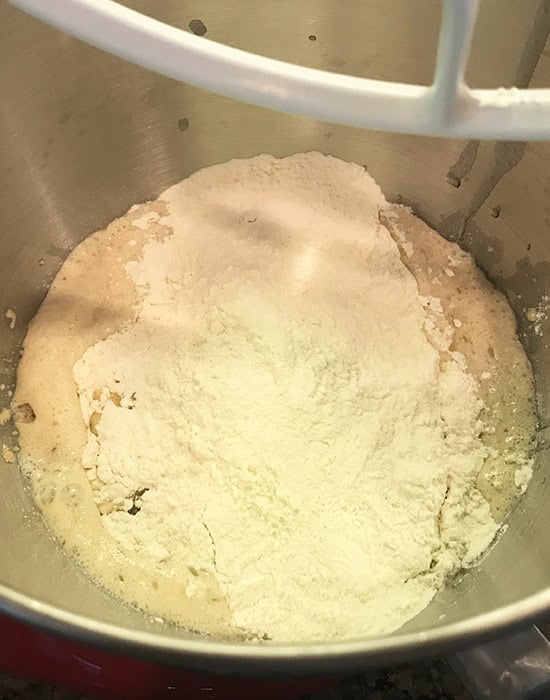
- Mix in the dry ingrdients
Once the yeast is activated, add the flour and salt and make a sticky dough. This is a sticky dough, so do not try to add more flour at this point. I also add some grated garlic to the dough.

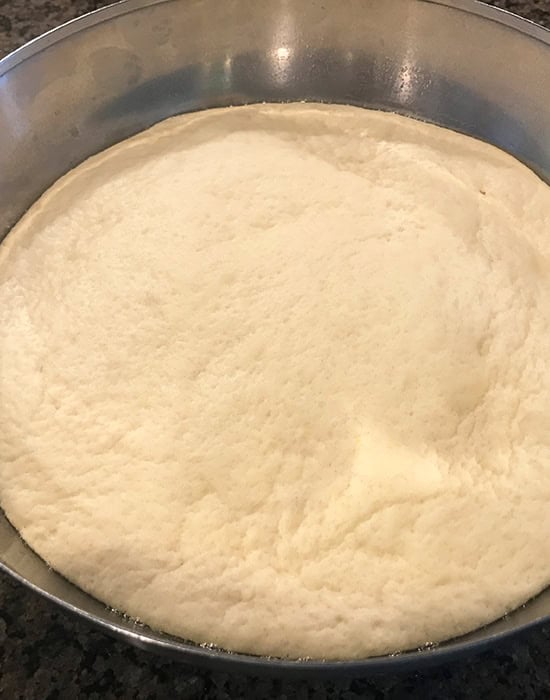
- Wait for the dough to rise
It will take around 60 to 90 minutes for the dough to double in size. If you live in a cold place, you can place the bowl in the oven with the oven lights on (but oven should be off).
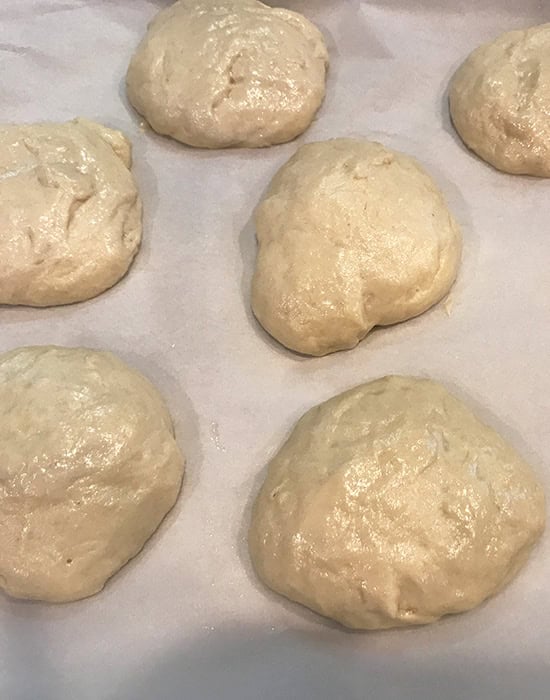
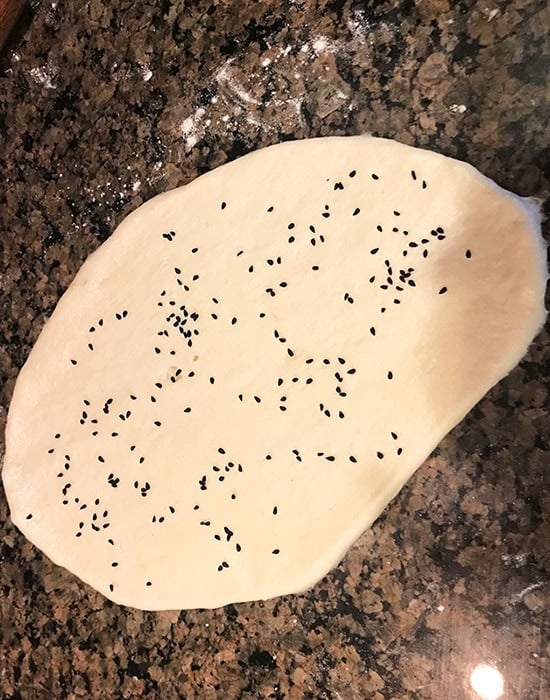
- Then get to rolling!
Give the dough rest after each step. After dividing the dough into 8 equal parts, let the dough balls rest for a while before rolling them. Roll the dough gently using a rolling pin.
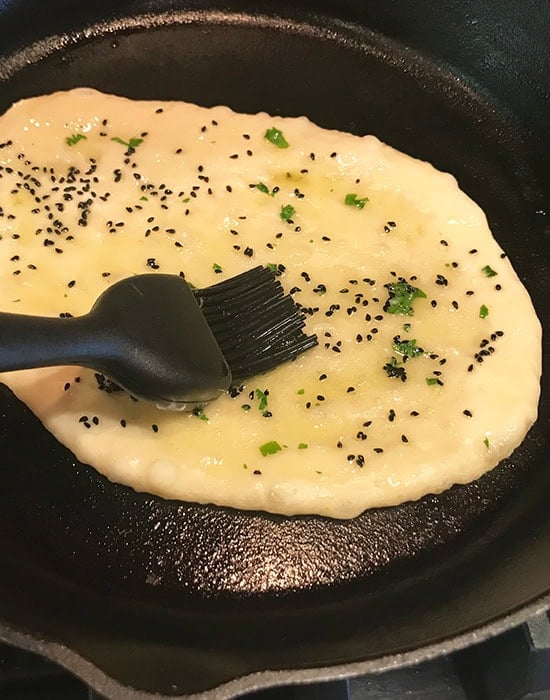
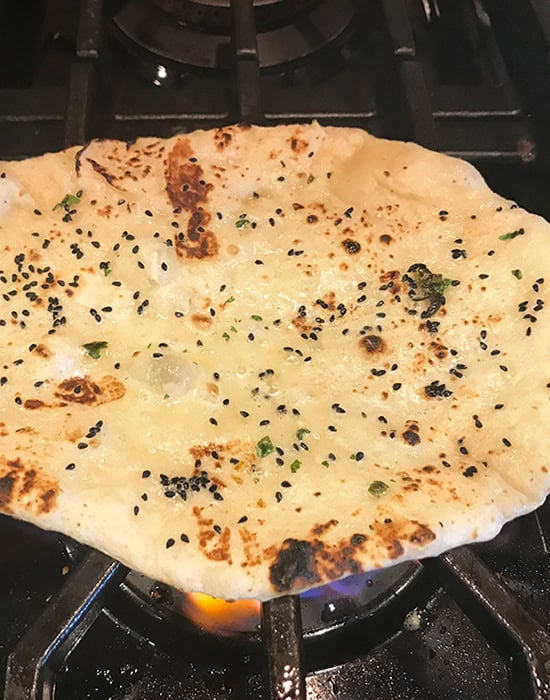
- Cook on a hot pan!
Once rolled, cook them on a cast iron skillet and and finish by cooking them on direct heat for that smoky flavor. Brush with more garlic butter before serving.
Freezing the naan
You can easily freeze these garlic naan- both cooked and uncooked.
Freezing cooked naan: You can freeze the naan after cooking them completely, just skip the step of brushing them with garlic butter. Let the naans cool down completely and then store (with layers or parchment paper in between each naan) in a zip lock bag for up to 3 months. Reheat in the microwave or pan and then brush with garlic butter before serving.
Freezing uncooked naan: To freeze the naan uncooked, make the dough and let it rise. Then divide the dough into equal parts and roll all the naan. Place a piece of parchment paper and then place a rolled naan on top of it. Now place another piece of parchment paper on top of the rolled naan and then place another naan on top. Basically, you stack them one by one, with a layer of parchment paper in between each naan. Once you have stacked them all, place them in a freezer bag, squeeze out as much air as possible and freeze. Cook on the skillet directly from the freezer when you want to eat them and brush with garlic butter before serving.

Restaurant Style Garlic Naan (Soft & Pillowy)
Ingredients
- 3 & ¼ cups + 3-4 tablespoons all purpose flour, 423 grams + 27-36 grams , also known as maida
- 1 teaspoon salt
- 1 cup water, lukewarm, 8 oz
- 1 tablespoon sugar, 12 grams , I used granulated white sugar
- 2 teaspoons active dry yeast
- ⅓ cup milk, 80 ml lukewarm, I used whole milk
- 2 tablespoons plain yogurt, I used plain whole milk yogurt
- 3 tablespoons oil, 45 ml , I used vegetable oil
- 2 large garlic cloves, grated
- nigella seeds/kalonji, optional, to sprinkle on top of naan
Garlic Butter, to brush on naan
- 3 tablespoons butter, I used unsalted
- 3 tablespoons chopped cilantro
- 2 teaspoons minced garlic
Instructions
- In a bowl whisk together 3 & ¼ cups all-purpose flour (423 grams) with 1 teaspoon salt. Set it aside.
- To the steel bowl of your stand mixer, add 1 cup lukewarm water (8 oz) and then add 1 tablespoons sugar and 2 teaspoons active dry yeast. Give it a quick stir and let it bloom for 5-10 minutes. You will know the yeast is activated when it’s all bubbly and frothy on top.
- Once the yeast is activated, add 1/3 cup milk (lukewarm), 2 tablespoons plain yogurt and 3 tablespoons oil. Add the flour mixture and mix using the paddle attachment on your stand mixer until combined. Also add 2 garlic cloves (grated).
- Start adding the remaining 3-4 tablespoons of flour (27-36grams). Add 1 tablespoon at a time and add more if the flour feels very sticky. The dough will always be a little sticky, so do not add more flour to make it dry. I ended up adding extra 4 tablespoons flour (36 grams) at this point.
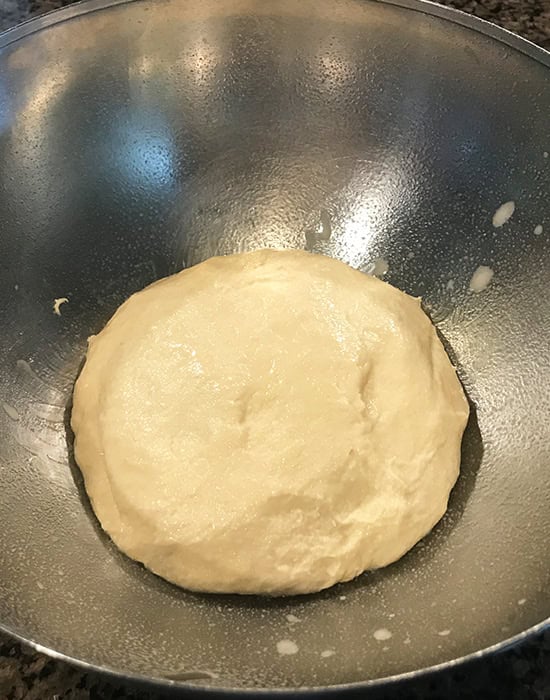
- Knead with hands or with the dough hook attachment of your stand mixer for 1-2 minutes until the dough is smooth. Transfer the dough to a greased bowl.
- Cover the bowl with a kitchen towel and let the dough rise in a warm place for 60-90 minutes. If it is cold where you live, pre-heat your oven for few minutes and then turn it off. Then place your dough inside the oven (remember the oven should be off!)After around 90 minutes, the dough will be more than double in size. Punch the dough gently to release the air.
- Divide the dough into 8 equal parts (around 100-105 grams each). Dough will be sticky so oil your hands while dividing the dough. Cover the dough balls with a kitchen towel and let them rest for 10-15 minutes.
- Meanwhile melt 3 tablespoons butter, add 2 teaspoons minced garlic and 3 tablespoons cilantro (chopped) to it. Mix well and keep the garlic butter ready to brush on the naan.
- Heat up a cast iron skillet on medium-high heat. I highly recommend using an iron skillet to make these naans. Take a dough ball and roll it into an oval shape, around 10 to 11 inches long and 6 inches wide. Apply a little oil on top of the dough before you try to roll it. Also oil your rolling pin. Do not try to roll the dough like you roll a tortilla/roti/paratha. Simply stretch it length wise and then width wise.Dip your finger in water and then sprinkle some nigella seeds on top. This is optional.
- Transfer the rolled naan onto the hot skillet. Let it cook for a minute or two until you see bubbles on top. Brush the naan at this point with the prepared garlic butter. You can skip the step of applying butter at this point and apply it directly once the naan is cooked. I like applying it twice –>more garlic flavor!
- With the help of a tong, remove the naan from skillet, flip and transfer directly to the gas. There will be a little mess as the butter will pour down (cover the sides of the burner with aluminum foil to make cleaning easier if you want). Cook the garlic naan for 15-20 seconds (directly on gas) until nicely golden brown from both sides.
- Remove from heat and brush with more garlic butter. Serve these homemade garlic naans with dal makhani or butter paneer!
To Cook Garlic Naan in Oven
- To cook the garlic naan in oven – pre-heat oven to 500 F degrees. Arrange rolled naan on a baking tray and then bake for 4-5 minutes or until golden brown. Remove naan from oven and apply the garlic butter. If you want, you can then place the naan in the oven under broiler to get them charred.
Notes
- You can make smaller naans if you want, these are pretty big, like the ones you get in restaurants.
- The cast iron skillet needs to really hot before you add the naan on it. This way the dough rises faster and you get puffy naan!
Nutrition
Nutrition information is automatically calculated, so should only be used as an approximation.